Last Tuesday evening, while getting ready for Benji’s weekly agility class, I realized we were completely out of training treats. With only 30 minutes before we had to leave, panic kicked in until I spotted the leftover chicken and rice from dinner. A quick idea turned into a game changer, and what started as a last minute fix quickly became our most reliable chicken dog treat recipe.
These soft, tender bites worked so well that Benji now gets excited the moment he sees me grab the treat pouch. Their gentle texture makes them easy for him to eat quickly during training, keeping his focus sharp, and the simple chicken and rice flavor is perfect for his occasionally picky appetite. What began as a rushed improvisation has since become our everyday go to for training sessions and special rewards alike.
Why Chicken and Rice Make the Perfect Combo
Chicken and rice have long been a trusted duo in the canine world and for good reason. Chicken provides a complete, high quality protein source that supports strong muscles and steady energy, while rice offers gentle, easily digestible carbohydrates that are ideal even for sensitive stomachs. Together, they create chicken dog treats that almost any pup can enjoy.
Rice plays more than a nutritional role in these soft dog treats. It works as a natural binder, helping the dough hold together while creating that tender, chewy texture dogs love. Its mild flavor lets the chicken take center stage, adding substance without overpowering the taste.
This combination also shines during training sessions where dogs consume several treats in a short amount of time. While richer proteins can cause digestive upset when fed frequently, these chicken and rice treats remain light and easy on the stomach. The rice provides a slow, steady release of energy, supporting focus and performance without causing sudden spikes or crashes.
Complete Recipe Guide
Soft Chicken and Rice Dog Treats
Recipe Overview
- Prep Time: 10 minutes
- Cook Time: 20 minutes
- Total Time: 30 minutes
- Yield: 35–40 small treats
- Skill Level: Beginner friendly
- Best For: Training, daily rewards, sensitive stomachs
Ingredients
- 8 oz boneless, skinless chicken breast, cooked and cooled
- ¾ cup cooked white rice, cooled
- 1 large egg, beaten
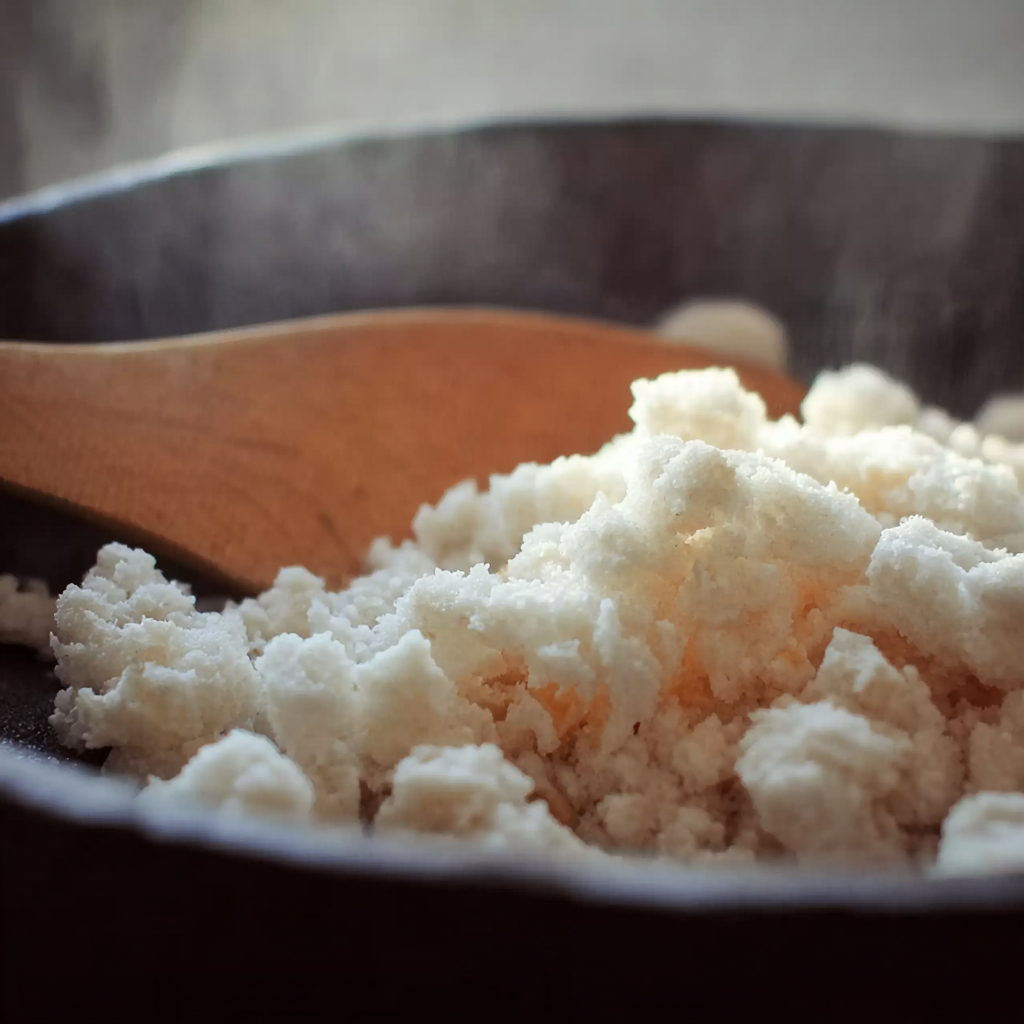
- 1¼ cups whole wheat flour
- 2 tablespoons low-sodium chicken broth
- 1 tablespoon olive oil (optional, for extra moisture)
Equipment
- Food processor or blender
- Large mixing bowl
- Baking sheet
- Parchment paper
- Cookie cutters or a knife
- Measuring cups and spoons
Step-by-Step Instructions
Step 1: Prep Your Ingredients
Cook the chicken breast by boiling or baking until it reaches an internal temperature of 165°F. Let it cool completely before chopping. Prepare the rice as directed and allow it to cool as well this prevents the egg from cooking too early during mixing.
Step 2: Make the Mixture
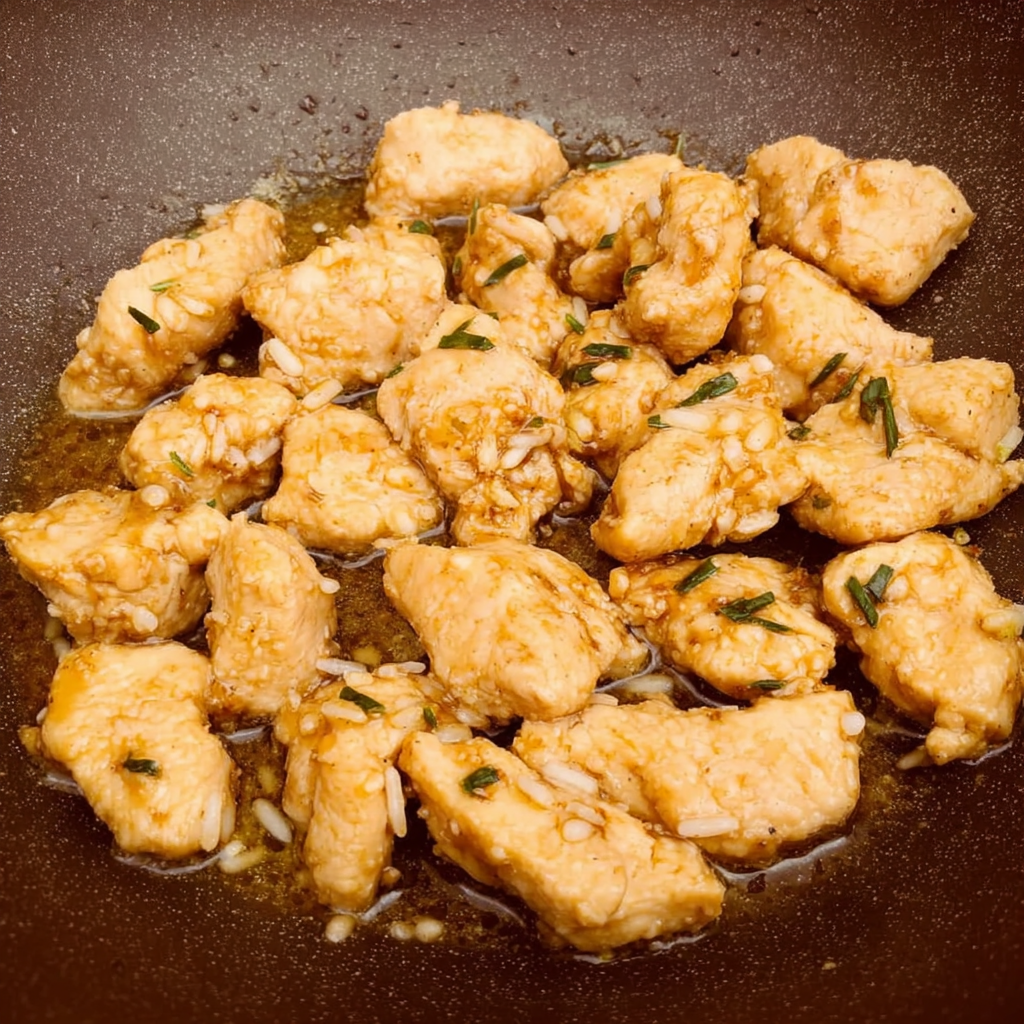
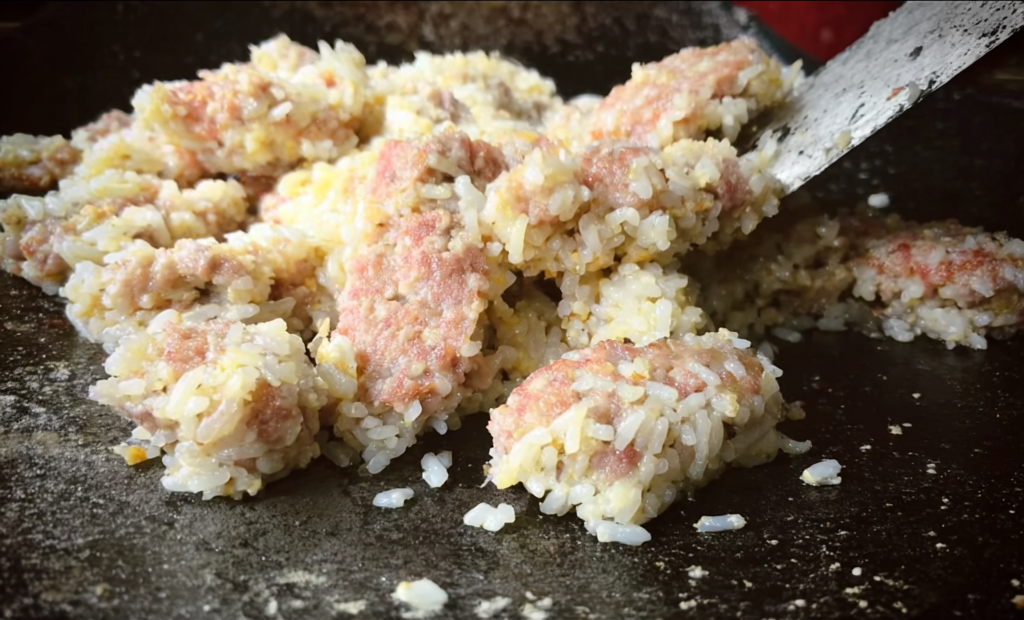
Pulse the cooled chicken in a food processor until finely chopped (avoid pureeing). Transfer it to a large bowl and mix in the rice, beaten egg, and chicken broth until everything is evenly combined.
Step 3: Form the Dough
Slowly add the flour until the dough becomes soft, workable, and no longer sticky. If the dough feels too wet, sprinkle in more flour; if too dry, add a splash of broth. It should hold together without sticking to your hands.
Step 4: Shape & Bake
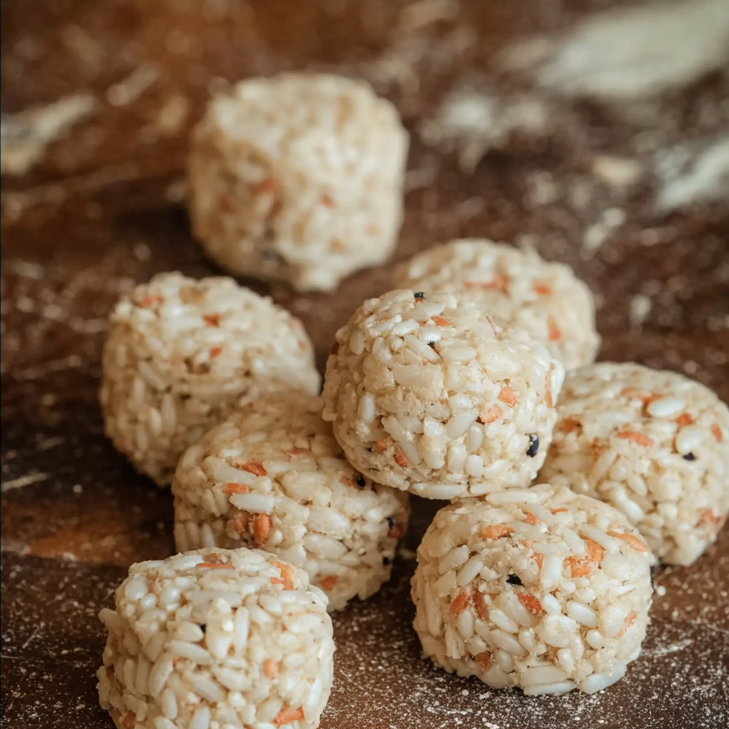
Roll the dough out on a floured surface to about ¼-inch thickness. Cut into small pieces or shapes suitable for your dog’s size tiny shapes work great for training. Place on a parchment lined baking sheet and bake at 350°F for 18–22 minutes, or until lightly golden and firm around the edges.
Step 5: Cool Completely
Allow the treats to cool fully on the baking sheet. Cooling helps them firm up and ensures they hold their shape when stored.
Serving Guidelines
Start by offering a small piece to gauge your dog’s reaction, especially if they’re new to homemade treats.
- Small dogs (under 20 lbs): ½ treat at a time
- Medium dogs (20–50 lbs): 1–2 treats per session
- Large dogs (50+ lbs): 2–3 treats per session
Remember, treats should make up no more than 10% of your dog’s daily calories. These chicken dog treats are protein-rich and satisfying, perfect for active dogs who need steady energy during training or play.
If your chicken dog treats come out tougher than expected, shorten the baking time by 2–3 minutes next time. Every oven runs a little differently, so look for lightly golden edges rather than relying only on the timer. For an extra-soft texture, mix in one additional tablespoon of chicken broth to boost moisture.
Crumbling or Falling Apart?
Treats that break apart easily usually need more binding. Add another beaten egg or gradually increase the flour until the dough holds its shape. Make sure both the chicken and rice are fully cooled before mixing warm ingredients can partially cook the egg and weaken the structure.
Dog Not Interested?
If your dog turns up their nose, your broth may be the culprit. Some store bought broths taste overly salty or artificial to dogs. Switching to a low sodium brand or using homemade broth from chicken bones can make a noticeable difference. Using fresh chicken and rice also improves aroma and appeal.
Proper Storage Methods
These soft chicken dog treats must be refrigerated due to their moisture rich, fresh ingredients. Store them in an airtight glass container and use within one week. Because they contain rice, they spoil more quickly than all meat treats, so proper storage is essential.
For long term storage, freeze the treats in portion sized batches for up to three months. Layer them with parchment paper to prevent sticking. You can thaw portions as needed, or serve them frozen on hot days many dogs enjoy the cool, firmer texture.
Avoid leaving the treats at room temperature for more than a few hours, especially in warm weather. Chicken and rice can create an ideal environment for bacterial growth if not chilled promptly. When in doubt, check the smell and appearance and discard anything that seems off.
Homemade vs. Commercial Treats: Why It Matters
Making your own chicken dog treats gives you complete control over ingredient quality. Commercial treats often rely on preservatives, artificial flavors, fillers, and low grade proteins that add bulk but little nutritional value. Many also contain excessive salt or sugar, which can be harmful with regular use.
Homemade treats also offer significant savings generally 60–70% cheaper than premium store bought versions. With just a few simple ingredients, you avoid extra costs tied to packaging, marketing, and distribution.
Most importantly, freshness is unmatched. Homemade chicken dog treats retain their natural flavor and nutrients because they’re made and eaten within days. Store bought treats may sit on shelves for months, losing aroma and becoming less effective for training.
Important Safety Guidelines
Always cook chicken to an internal temperature of 165°F to eliminate any harmful bacteria. Visual cues aren’t reliable on their own, so use a meat thermometer to confirm doneness. Properly cooked chicken will have clear juices and no pink areas.
Keep your prep environment clean from start to finish. Wash your hands thoroughly after handling raw poultry, and use separate cutting boards for meat and other ingredients to prevent cross contamination. These steps protect both you and your dog.
When introducing these chicken dog treats for the first time, monitor your dog closely especially if they have known food sensitivities. While chicken and rice are typically well tolerated, every dog is unique. Start with a small portion and watch for digestive upset, itching, or any unusual behavior.
Essential Points to Remember
- Chicken and rice create an ideal blend of digestibility, palatability, and training efficiency.
- Cooling the cooked chicken and rice before mixing helps achieve the perfect soft texture.
- These treats must be refrigerated and enjoyed within one week.
- Making them at home offers 60–70% cost savings compared to premium store bought options.
- The ideal texture is soft yet firm, with visible chicken pieces throughout.
- Great for dogs with allergies, sensitivities, or dental issues.
- A perfect starter recipe for anyone new to homemade dog treats.
Final Thoughts
These chicken dog treats have truly elevated our training sessions and everyday routines. They’re incredibly simple to prepare, yet deliver a level of freshness and quality you won’t find in most commercial treats. The enthusiastic reaction from dogs makes them a rewarding choice for both beginners and seasoned treat makers.
Beyond basic training, their versatility is a major advantage. Their soft texture makes them perfect for hiding medication, calming dogs during travel, or offering comfort in unfamiliar environments. They’re also gentle enough for seniors or dogs with dental challenges.
Whether you’re looking for affordable training treats, healthier alternatives to store bought options, or a way to strengthen the bond with your pup, these chicken dog treats deliver outstanding results. With just 30 minutes of effort, you’ll have a nutritious, dog approved reward that supports both happiness and well being.
Frequently Asked Questions
How long will these chicken dog treats stay fresh?
They will stay fresh for 5–7 days when stored in airtight containers in the refrigerator. Because they contain fresh chicken and rice, refrigeration is essential. For longer storage, freeze them in weekly portions for up to 3 months without losing texture or nutritional value.
Can I use brown rice instead of white rice?
Yes! Brown rice works well but may create a slightly denser treat. Cook it until very tender and cool completely before mixing. Its higher fiber content adds nutritional benefits, though you may need to adjust the liquid slightly to achieve a workable dough.
Are these treats suitable for puppies?
Yes these treats are appropriate for puppies over 12 weeks old when cut into small, manageable pieces. Their gentle ingredients and soft texture make them easy for young dogs to digest. Keep treats under 10% of your puppy’s daily calorie intake.
What if my dog isn’t interested in the treats?
First, ensure the ingredients are fresh and the broth isn’t overly salty or artificial. You can also warm a treat briefly to enhance aroma, or mix in a splash of low sodium broth for added flavor.
Can I make larger batches and freeze them?
Absolutely. This recipe scales very well. Simply double or triple the ingredients, adding 2–3 extra minutes to the baking time if necessary. Freeze in weekly portions to prevent repeated thawing, which can affect texture.

Tender Chicken and Rice Dog Treats
Last Tuesday evening, while getting ready for Benji’s weekly agility class, I realized we were completely out of training treats. With only 30 minutes before we had to leave, panic kicked in until I spotted the leftover chicken and rice from dinner. A quick idea turned into a game changer, and what started as a last minute fix quickly became our most reliable chicken dog treat recipe.
These soft, tender bites worked so well that Benji now gets excited the moment he sees me grab the treat pouch. Their gentle texture makes them easy for him to eat quickly during training, keeping his focus sharp, and the simple chicken and rice flavor is perfect for his occasionally picky appetite. What began as a rushed improvisation has since become our everyday go to for training sessions and special rewards alike.
Ingredients
- 8 oz boneless, skinless chicken breast, cooked and cooled
- ¾ cup cooked white rice, cooled
- 1 large egg, beaten
- 1¼ cups whole wheat flour
- 2 tablespoons low-sodium chicken broth
- 1 tablespoon olive oil (optional, for extra moisture)
Instructions
Step 1: Prep Your Ingredients
Cook the chicken breast by boiling or baking until it reaches an internal temperature of 165°F. Let it cool completely before chopping. Prepare the rice as directed and allow it to cool as well this prevents the egg from cooking too early during mixing.
Step 2: Make the Mixture
Pulse the cooled chicken in a food processor until finely chopped (avoid pureeing). Transfer it to a large bowl and mix in the rice, beaten egg, and chicken broth until everything is evenly combined.
Step 3: Form the Dough
Slowly add the flour until the dough becomes soft, workable, and no longer sticky. If the dough feels too wet, sprinkle in more flour; if too dry, add a splash of broth. It should hold together without sticking to your hands.
Step 4: Shape & Bake
Roll the dough out on a floured surface to about ¼-inch thickness. Cut into small pieces or shapes suitable for your dog’s size tiny shapes work great for training. Place on a parchment lined baking sheet and bake at 350°F for 18–22 minutes, or until lightly golden and firm around the edges.
Step 5: Cool Completely
Allow the treats to cool fully on the baking sheet. Cooling helps them firm up and ensures they hold their shape when stored.
Notes
Always cook chicken to an internal temperature of 165°F to eliminate any harmful bacteria. Visual cues aren’t reliable on their own, so use a meat thermometer to confirm doneness. Properly cooked chicken will have clear juices and no pink areas.