The Story Behind This Treat
The inspiration for these Pumpkin & Oatmeal Dog Snack Sticks began somewhere completely ordinary the vet’s waiting room. Benji had a slightly upset stomach, and while I sat there overanalyzing every tiny symptom, our vet calmly suggested simplifying his snacks. “More gentle fiber, fewer mystery ingredients,” she said, jotting down plain pumpkin + oats on a sticky note. “If you’re making homemade treats, start there.”
On the ride home, Benji sat in the backseat with his nose practically buried in the grocery bag holding canned pumpkin. It felt like he already knew this simple, vet-inspired recipe was meant just for him.
Later that afternoon, I stood in the kitchen with that sticky note beside me, a bowl of oats on the counter, and a hopeful Labrador watching my every move. I thought about all the times I had grabbed store-bought treats without reading the labels carefully. This time felt different. I wanted something simple, nourishing, and made with intention.
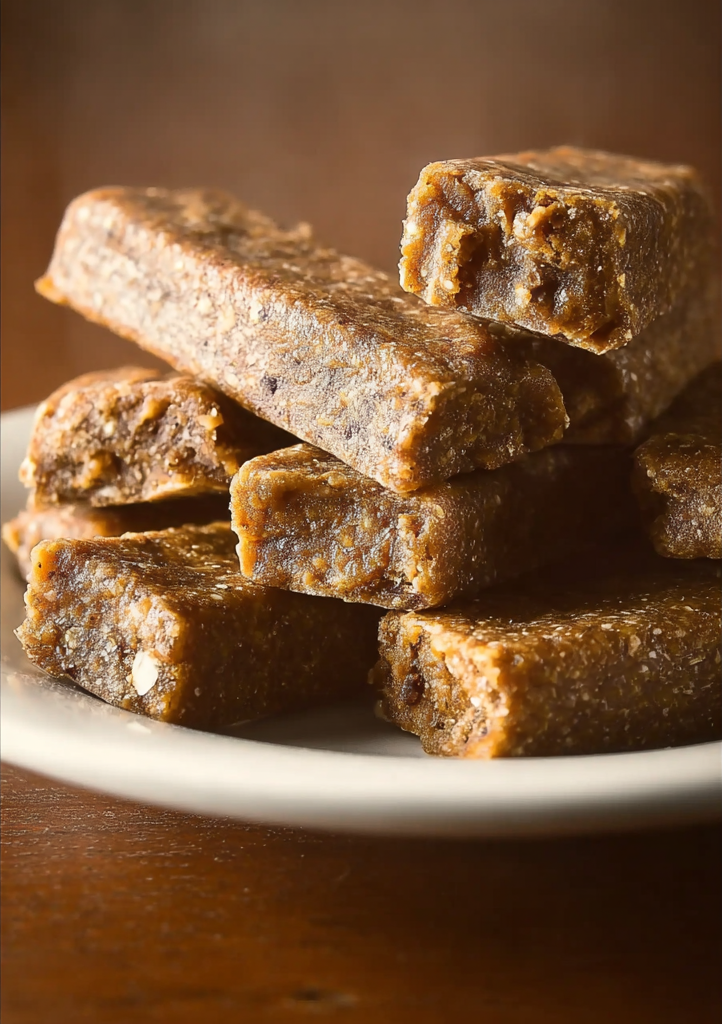
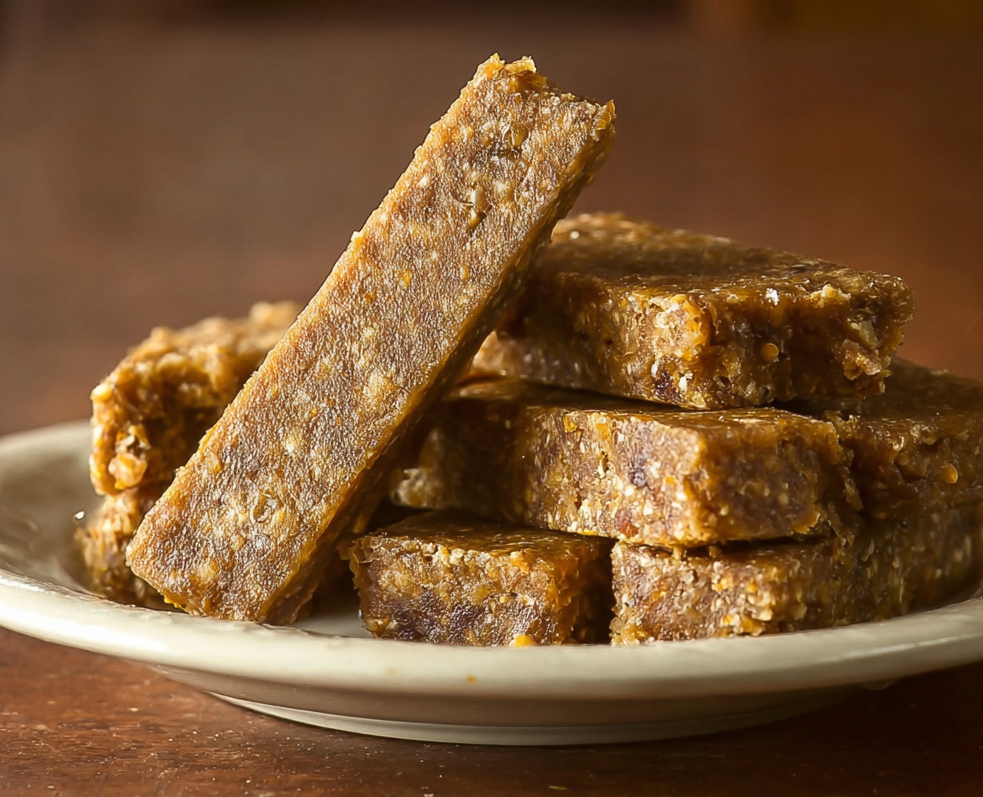
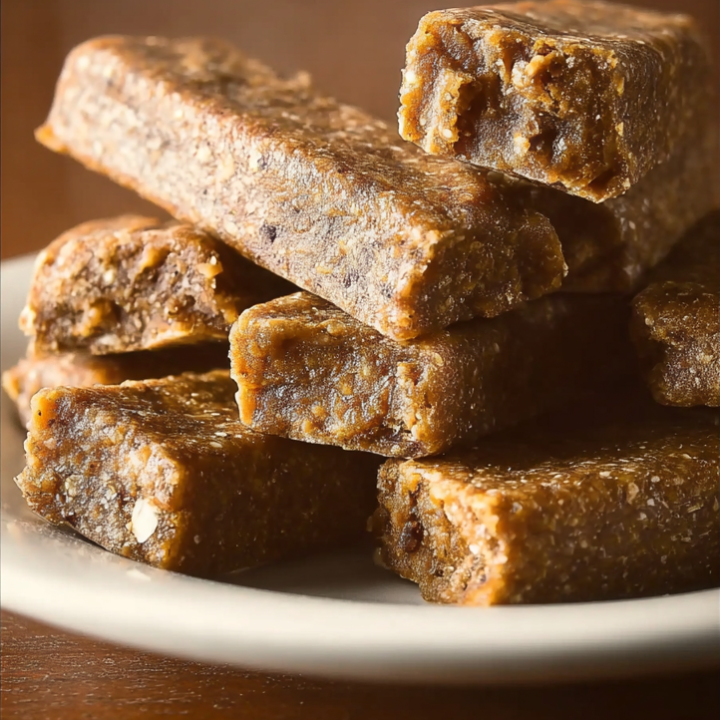
I mixed pumpkin, ground oats, and an egg into a soft dough, then rolled it into rustic little sticks that looked like homemade breadsticks. When they hit the lightly oiled grill pan, the kitchen filled with a warm, toasty aroma part fall baking, part backyard barbecue (for dogs). Benji positioned himself exactly two feet from the stove, tail thumping steadily like a metronome.
The first taste test happened after a long Sunday evening walk. I broke off a small piece, waited for it to cool (despite Benji’s impatient whining), and handed it over. He took it gently, then crunched down with that focused, joyful expression that says, “Please remember what you just did and do it again.” Since that day, these snack sticks have become our go-to comfort treat especially after big adventures or those not-so-fun vet visits.

How to Make Pumpkin & Oatmeal Dog Snack Sticks
Ingredients
- Plain canned pumpkin (not pumpkin pie filling)
- Rolled oats
- Whole wheat flour or oat flour
- 1 egg
- A small drizzle of olive oil or coconut oil
- Optional (if approved by your vet): smooth, xylitol-free peanut butter
Mixing the Dough
Start by pulsing the rolled oats in a blender or food processor until slightly finer. This helps the sticks hold together while keeping some texture.
In a medium bowl, whisk the egg first. Stir in the pumpkin and oil until smooth. Add the oats and flour gradually, mixing until you form a thick, slightly sticky dough. It should hold together when pressed but not crumble apart.
- If the dough feels too wet, add flour one tablespoon at a time.
- If it’s too dry or cracking, add a teaspoon of water or pumpkin.
Lightly flour your surface, roll the dough into logs about ½ inch thick, and cut into stick-sized pieces suited to your dog’s size.
Cooking Instructions
Heat a lightly oiled grill pan over medium-low heat. Place the sticks on the pan and cook slowly, turning occasionally, until they develop light grill marks and firm up.
Think gentle toasting not high-heat grilling. Slow cooking keeps them safe, easy to chew, and evenly baked.
Let them cool completely before serving.
Make-Ahead & Storage Tips
These snack sticks fit perfectly into busy routines.
Refrigerator:
Store in an airtight container for 5–7 days. Line the container with a paper towel to absorb moisture and keep the edges firm.
Freezer:
Freeze cooled sticks in a single layer on a baking sheet. Once solid, transfer to a freezer-safe bag or container. They’ll keep for up to 2 months.
To serve, thaw overnight in the fridge or leave at room temperature for 15–20 minutes. Many dogs don’t mind a slightly chilled treat.
Always inspect stored treats for unusual smells, mold, or texture changes. If a stick feels overly soft, sticky, or damp, discard it.
Ingredient Tips & Fun Variations
For best results, use:
- 100% pure pumpkin purée (only ingredient listed should be pumpkin)
- Old-fashioned rolled oats
You can customize the recipe once you’ve mastered the base:
- Add finely grated carrot for natural sweetness
- Mix in chopped fresh parsley for fresher breath
- Swap part of the oil for plain Greek yogurt (if tolerated)
- Reduce oil if you’re watching calories
Keep all add-ins simple, low-sodium, and dog-safe.
Serving Ideas
Break into smaller pieces for training treats or offer a full stick after a long walk. They’re especially comforting after busy days or vet visits.
Frequently Asked Questions
What ingredients work best?
Stick with pure pumpkin purée, plain rolled oats, and a gentle binder like egg or unsweetened applesauce.
Optional additions like plain yogurt or a small amount of xylitol-free peanut butter are fine if your dog tolerates them.
Never use:
- Pumpkin pie filling
- Added sugar
- Xylitol
- Chocolate
- Nutmeg or heavy spices
Always read labels carefully.
Are they safe for sensitive stomachs?
Pumpkin and oats are generally gentle sources of fiber, but introduce slowly. Start with a small piece and monitor for any digestive upset.
If your dog has pancreatitis, chronic GI issues, or follows a prescription diet, consult your vet before offering new treats.
How should I store and reheat them?
Store in the fridge for up to 7 days or freeze for up to 2 months.
If warming, microwave only a few seconds until lukewarm never hot. Dogs can burn their mouths easily and won’t recognize high temperatures.
Final Thoughts
These Pumpkin & Oatmeal Dog Snack Sticks are a reminder that the best moments with our dogs are simple ones. A quiet kitchen. A warm treat cooling on the counter. A hopeful set of eyes waiting patiently.
Pull out the oats, open the pumpkin, and give this recipe a try. You might find that the real reward isn’t just the treat it’s the memory you create while making it.
Healthy Grilled Pumpkin Oat Dog Snack Sticks
The inspiration for these Pumpkin & Oatmeal Dog Snack Sticks began somewhere completely ordinary the vet’s waiting room. Max had a slightly upset stomach, and while I sat there overanalyzing every tiny symptom, our vet calmly suggested simplifying his snacks. “More gentle fiber, fewer mystery ingredients,” she said, jotting down plain pumpkin + oats on a sticky note. “If you’re making homemade treats, start there.”
On the ride home, Max sat in the backseat with his nose practically buried in the grocery bag holding canned pumpkin. It felt like he already knew this simple, vet-inspired recipe was meant just for him.
Later that afternoon, I stood in the kitchen with that sticky note beside me, a bowl of oats on the counter, and a hopeful Labrador watching my every move. I thought about all the times I had grabbed store-bought treats without reading the labels carefully. This time felt different. I wanted something simple, nourishing, and made with intention.
I mixed pumpkin, ground oats, and an egg into a soft dough, then rolled it into rustic little sticks that looked like homemade breadsticks. When they hit the lightly oiled grill pan, the kitchen filled with a warm, toasty aroma part fall baking, part backyard barbecue (for dogs). Max positioned himself exactly two feet from the stove, tail thumping steadily like a metronome.
The first taste test happened after a long Sunday evening walk. I broke off a small piece, waited for it to cool (despite Max’s impatient whining), and handed it over. He took it gently, then crunched down with that focused, joyful expression that says, “Please remember what you just did and do it again.” Since that day, these snack sticks have become our go-to comfort treat especially after big adventures or those not-so-fun vet visits.
Ingredients
- Plain canned pumpkin (not pumpkin pie filling)
- Rolled oats
- Whole wheat flour or oat flour
- 1 egg
- A small drizzle of olive oil or coconut oil
- Optional (if approved by your vet): smooth, xylitol-free peanut butter
Instructions
Crack the egg into a medium mixing bowl and whisk until lightly beaten.
Add the pumpkin purée, 1 tablespoon of oil, and peanut butter (if using). Stir until the mixture is smooth and fully combined.
Mix in the pulsed rolled oats and flour using a sturdy spoon or spatula. Continue stirring until a thick, slightly sticky dough forms.
If the dough feels too sticky to handle, sprinkle in a small amount of extra flour. If it seems dry or crumbly, add water one teaspoon at a time, mixing after each addition until the dough comes together.
Lightly flour your hands and work surface, then transfer the dough onto the floured area.
Divide the dough into 2 to 3 equal portions. Roll each portion into a log about ½ inch thick.
Cut each log into sticks approximately 4 to 5 inches long. For smaller dogs, make shorter sticks. Gently reshape as needed.
Preheat a grill pan over medium-low heat. Lightly coat the pan with the remaining teaspoon of oil, wiping away any excess with a paper towel.
Arrange the snack sticks on the warm pan in a single layer, leaving space between each one.
Cook for 4 to 5 minutes on the first side, until the bottoms are lightly browned and grill marks appear.
Turn each stick and cook for another 4 to 5 minutes, lowering the heat if needed to prevent burning.
Continue turning every few minutes for a total cooking time of about 15 to 20 minutes, until the outside is firm and lightly crisp and the inside is fully cooked.
Transfer the finished snack sticks to a wire rack and allow them to cool completely before serving.
Store the cooled sticks in an airtight container in the refrigerator for up to 5 to 7 days.
Notes
Choose smooth peanut butter that is completely free of xylitol and artificial sweeteners. Always double-check the ingredient label before using.
Shape the sticks according to your dog’s size and chewing habits. Smaller dogs may need thinner or shorter pieces. As with any new treat, supervise while your dog is enjoying it.
For a softer, slightly chewy texture, cook on the shorter end of the suggested time. If you prefer a firmer, crunchier stick, extend the cooking time by a few minutes, keeping a close eye to prevent burning.
Once fully cooled, store the sticks in a freezer-safe container or bag for up to 2 months. Thaw in the refrigerator before serving.
Nutrition Information:
Yield: 18 Serving Size: 18 snack sticksAmount Per Serving: Calories: 60