This combination isn’t just tasty it’s nutritious, too.
Sweet potatoes are rich in fiber, beta-carotene (which converts to vitamin A), and essential vitamins that support healthy digestion, strong immunity, and good vision. They’re naturally sweet, which dogs love, and gentle on sensitive stomachs.
Peanut butter adds protein and healthy fats, making these treats satisfying and flavorful. Most dogs go wild for its creamy texture and nutty taste.
Together, they create a balanced, nutrient-dense snack that’s both delicious and nourishing.
One of the best parts of making homemade dog treats? You control every ingredient no artificial preservatives, no mystery additives, just real food made with love.
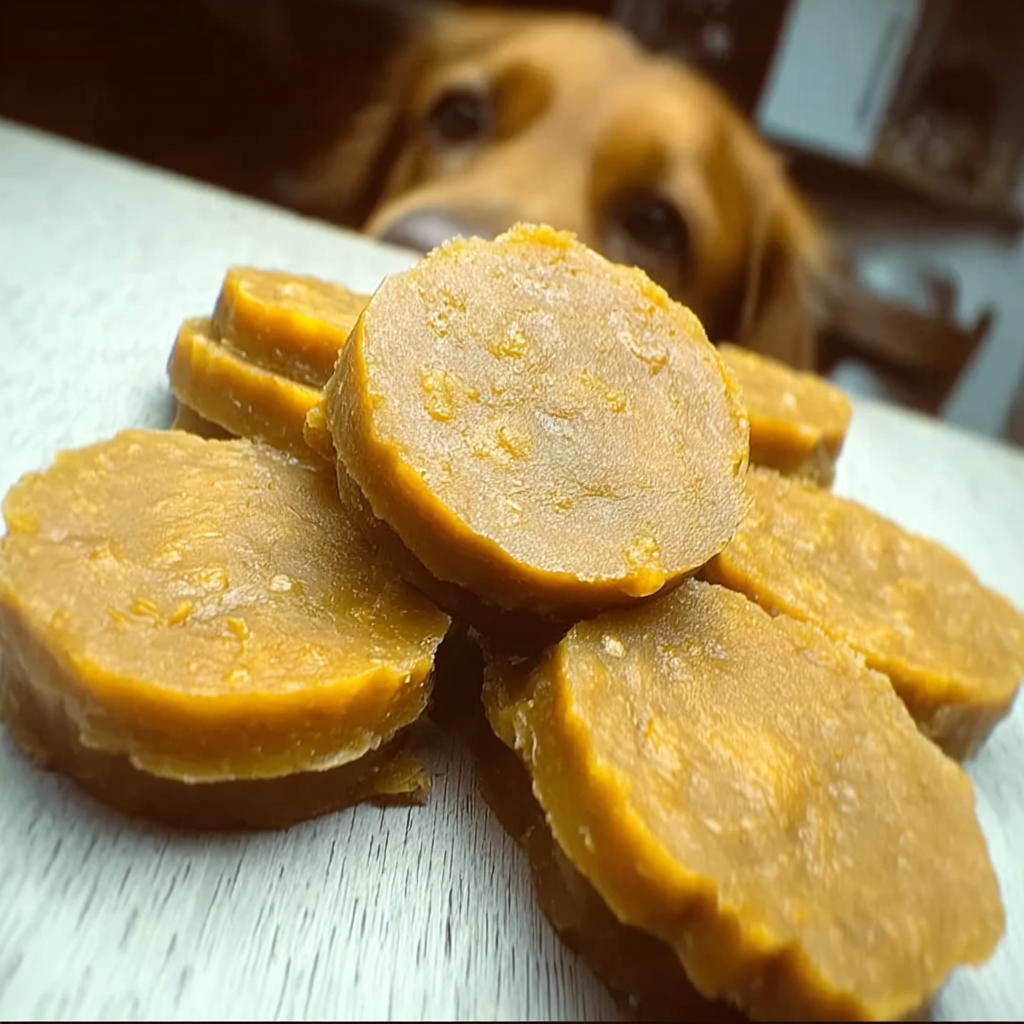
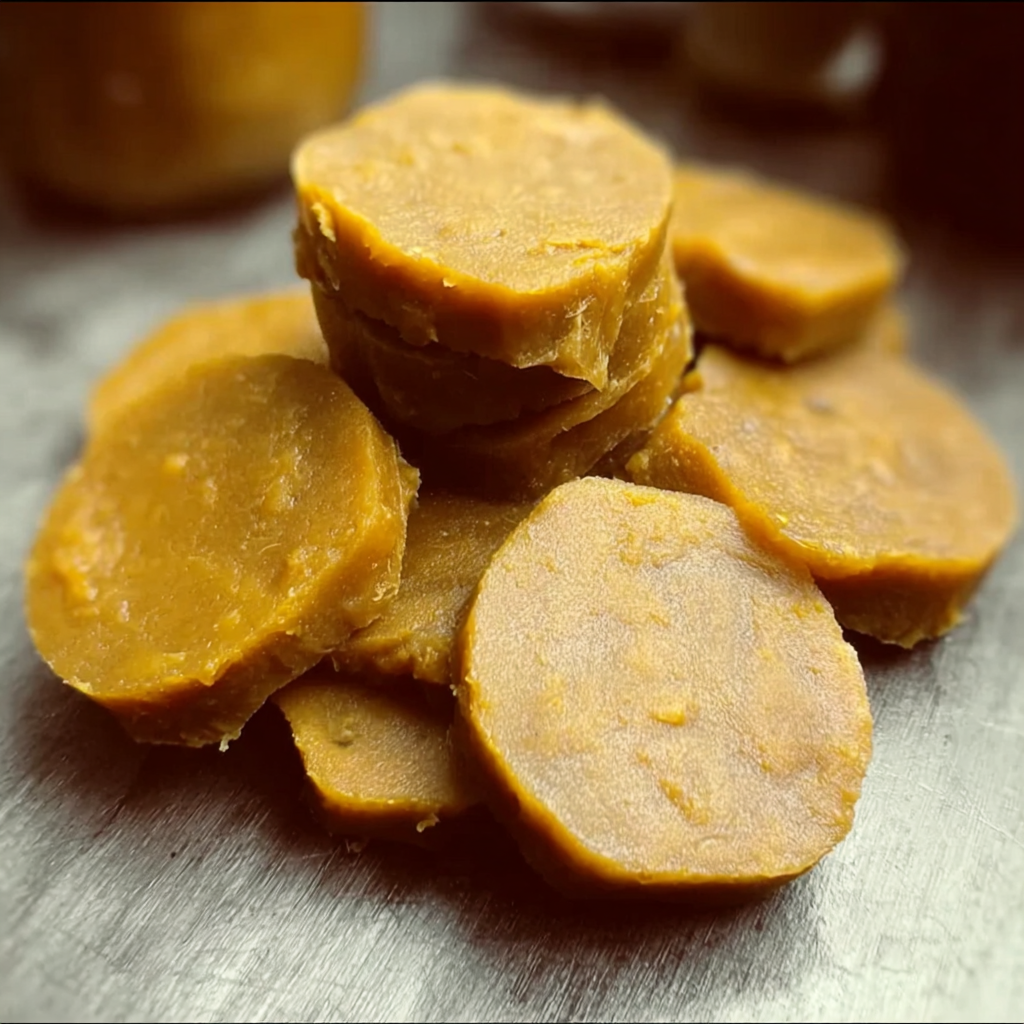
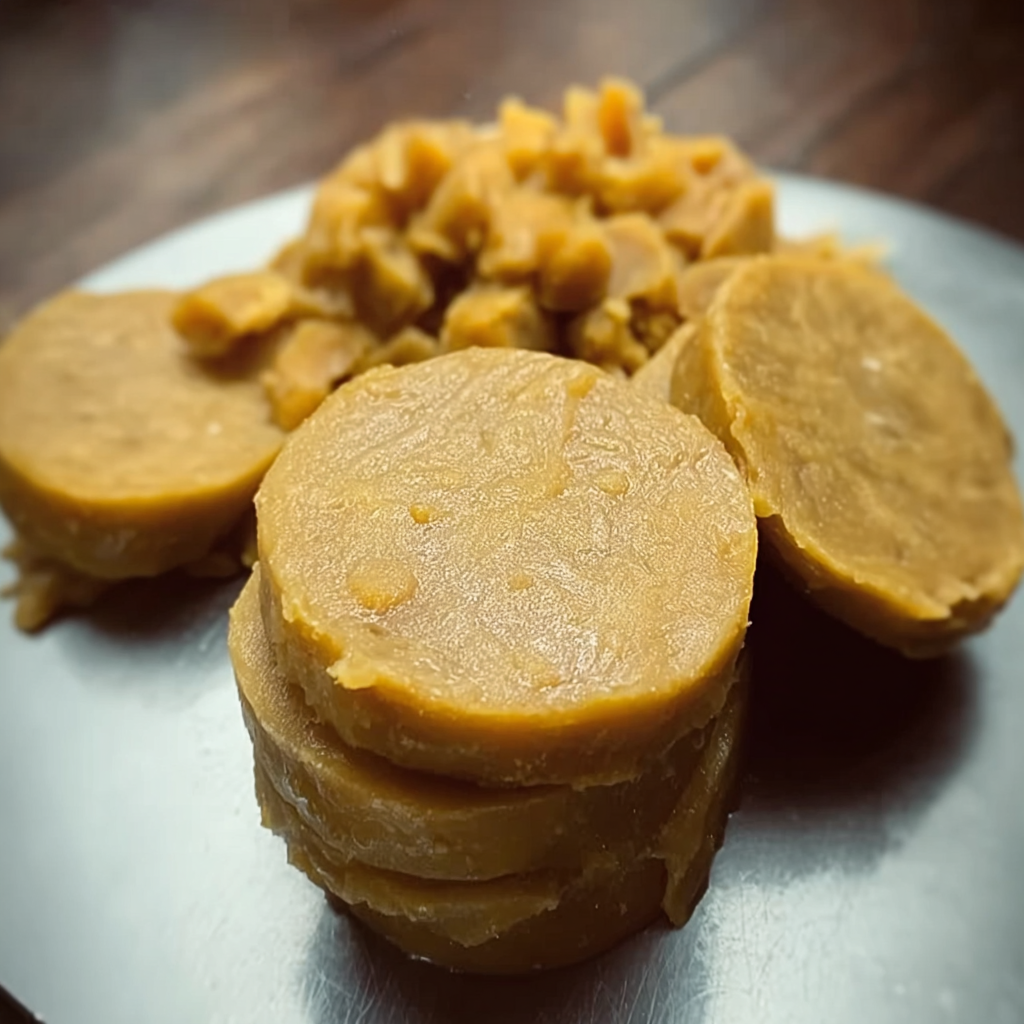
Sweet Potato Peanut Butter Rounds for Dogs
Ingredients
- 1 large sweet potato, baked and mashed
- ½ cup natural peanut butter (make sure it’s xylitol-free)
- 2 cups oat flour (plus extra for dusting)
- Optional: ¼ teaspoon ground cinnamon
Ingredient Tips
- Sweet Potato: Naturally sweet and packed with fiber and vitamin A.
- Peanut Butter: Always check the label xylitol is toxic to dogs. Choose natural, unsweetened peanut butter.
- Oat Flour: A gentle, gluten-free option that’s easy to digest. No oat flour? Blend rolled oats in a food processor until fine.
Step-by-Step Instructions
1. Bake the Sweet Potato
Preheat your oven to 400°F (200°C). Wash the sweet potato, poke a few holes with a fork, and bake for about 45 minutes, or until fork-tender. Let it cool completely, then remove the skin and mash until smooth.
Shortcut: You can also boil or microwave it, but baking brings out extra sweetness.
2. Mix the Wet Ingredients
In a large bowl, combine the mashed sweet potato and peanut butter. Stir until smooth and fully blended. The mixture should be soft and slightly sticky.
3. Add the Flour
Gradually mix in the oat flour. Stir until a dough forms. If it feels too sticky, add a little more flour 1 tablespoon at a time until workable.
4. Roll the Dough
Lightly dust your surface with oat flour. Roll the dough to about ¼-inch thickness. If it’s too soft to handle, chill it in the refrigerator for 15–20 minutes.
5. Cut the Treats
Use a round cookie cutter (or any shape you like) to cut out the treats. Re-roll scraps and continue cutting until all dough is used. Place treats on a parchment-lined baking sheet.
6. Bake
Reduce oven temperature to 350°F (175°C). Bake for 20–25 minutes, until lightly golden.
For crunchier treats, leave them in for an extra 3–5 minutes but keep a close eye to prevent over-browning.
7. Cool and Store
Let treats cool completely on a wire rack before serving.
Storage guidelines:
- Room temperature: up to 1 week in an airtight container
- Refrigerator: up to 3 weeks
- Freezer: up to 3 months (thaw before serving)
Why Homemade Treats Are Worth It
Making treats at home means:
- No artificial colors or preservatives
- Full control over ingredients
- Easy adjustments for allergies or sensitivities
Plus, it’s a simple way to strengthen your bond. Dogs are incredibly intuitive they sense the care you put into what you make for them.
Health Benefits at a Glance
Sweet Potatoes
- High in fiber for digestive health
- Rich in beta-carotene (supports vision and immunity)
- Low in fat but energy-dense
Peanut Butter
- Good source of protein
- Contains healthy fats
- Irresistible flavor dogs adore
Remember: treats should make up no more than 10% of your dog’s daily calories.
Easy Customization Ideas
Want to switch things up?
- Add a pinch of cinnamon for warmth and potential anti-inflammatory benefits.
- Mix in pumpkin puree for extra fiber.
- Stir in a little mashed banana for natural sweetness.
- Try alternative flours like coconut or whole wheat (if your dog tolerates gluten).
FAQs
Can I freeze these treats?
Yes! Store in a freezer-safe bag for up to 3 months.
How many should I give my dog?
Moderation is key. Adjust based on your dog’s size and activity level.
What if my dog has allergies?
Substitute ingredients as needed and consult your veterinarian before introducing new foods.
There’s something special about baking for your dog. It’s more than making a snack it’s creating a small moment of joy. And when you see that tail wagging in excitement, you’ll know it was worth it.
Happy baking! 🐾

Easy Sweet Potato Peanut Butter Dog Treats
This combination isn’t just tasty it’s nutritious, too.
Sweet potatoes are rich in fiber, beta-carotene (which converts to vitamin A), and essential vitamins that support healthy digestion, strong immunity, and good vision. They’re naturally sweet, which dogs love, and gentle on sensitive stomachs.
Peanut butter adds protein and healthy fats, making these treats satisfying and flavorful. Most dogs go wild for its creamy texture and nutty taste.
Together, they create a balanced, nutrient-dense snack that’s both delicious and nourishing.
One of the best parts of making homemade dog treats? You control every ingredient no artificial preservatives, no mystery additives, just real food made with love.
Ingredients
- 1 large sweet potato, baked and mashed
- ½ cup natural peanut butter (make sure it’s xylitol-free)
- 2 cups oat flour (plus extra for dusting)
- Optional: ¼ teaspoon ground cinna
Instructions
1. Bake the Sweet Potato
Preheat your oven to 400°F (200°C). Wash the sweet potato, poke a few holes with a fork, and bake for about 45 minutes, or until fork-tender. Let it cool completely, then remove the skin and mash until smooth.
Shortcut: You can also boil or microwave it, but baking brings out extra sweetness.
2. Mix the Wet Ingredients
In a large bowl, combine the mashed sweet potato and peanut butter. Stir until smooth and fully blended. The mixture should be soft and slightly sticky.
3. Add the Flour
Gradually mix in the oat flour. Stir until a dough forms. If it feels too sticky, add a little more flour 1 tablespoon at a time until workable.
4. Roll the Dough
Lightly dust your surface with oat flour. Roll the dough to about ¼-inch thickness. If it’s too soft to handle, chill it in the refrigerator for 15–20 minutes.
5. Cut the Treats
Use a round cookie cutter (or any shape you like) to cut out the treats. Re-roll scraps and continue cutting until all dough is used. Place treats on a parchment-lined baking sheet.
6. Bake
Reduce oven temperature to 350°F (175°C). Bake for 20–25 minutes, until lightly golden.
For crunchier treats, leave them in for an extra 3–5 minutes but keep a close eye to prevent over-browning.
7. Cool and Store
Let treats cool completely on a wire rack before serving.
Storage guidelines:
- Room temperature: up to 1 week in an airtight container
- Refrigerator: up to 3 weeks
- Freezer: up to 3 months (thaw before serving)
Notes
For a little boost of flavor, you can mix in a small pinch of cinnamon—it’s dog-friendly when used in moderation.
Keep the treats fresh by storing them in an airtight container: up to 1 week at room temperature, 3 weeks in the refrigerator, or freeze them for extended storage.
If you don’t have oat flour, feel free to swap it with other dog-safe options like almond flour or coconut flour.
If your dog has allergies or special dietary needs, it’s always best to check with your veterinarian before adding new ingredients. 🐾
Nutrition Information:
Yield: 12 Serving Size: 1 treatAmount Per Serving: Calories: 85Total Fat: 4gSaturated Fat: 1gTrans Fat: 0gUnsaturated Fat: 3gCholesterol: 0mgSodium: 10mgCarbohydrates: 10gFiber: 2gSugar: 1gProtein: 2g