How Golden Paste Became a Pantry Essential for My Dog
I still remember the very first time I made golden paste for my senior Labrador, Charlie. He had started moving a little slower, especially in his hips, and while his diet was already nutritious, I wanted to add something natural to support his joints. That’s when I discovered turmeric and its powerful anti-inflammatory benefits.
At first, I simply mixed a small spoonful of golden paste into his meals. He liked it well enough, but I wanted to turn it into something more exciting something that felt like a reward, not just a supplement. That’s when inspiration struck: why not transform it into a chewy, homemade treat? Easy to store, shaped like his favorite bones, and perfect for those “good boy” moments. And just like that, our Golden Paste Dog Treat tradition was born.
Why Golden Paste Is So Beneficial for Dogs
Turmeric gets its vibrant golden color from curcumin, a compound known for its anti-inflammatory and antioxidant properties. When combined with healthy fats like coconut oil and a small amount of black pepper, curcumin becomes much easier for a dog’s body to absorb.
Holistic veterinarians often recommend golden paste for dogs dealing with joint stiffness, arthritis, allergies, or digestive discomfort. Turning it into a tasty treat makes it even better no pills, no powders, just a snack your dog actually looks forward to.
My First Batch of Golden Paste Dog Treats
I’ll admit it the first batch was messy. My fingers were stained yellow for days, and I somehow managed to spill coconut oil on Charlie’s favorite toy. But the moment he started sniffing the kitchen doorway, tail wagging as I filled the bone-shaped molds, I knew it was worth it.
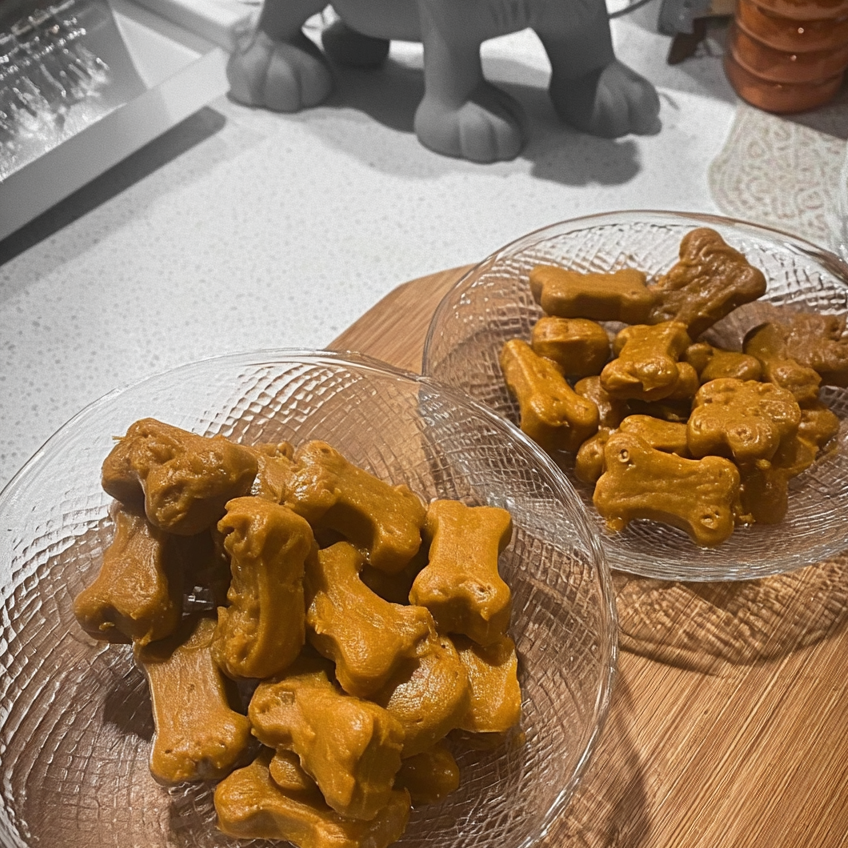
After a few hours in the freezer, I popped one out and handed it to him. No hesitation. One happy chomp, and it was gone. That was the moment I knew these treats were here to stay.
Golden Paste Dog Treat Recipe
These treats are simple to make and require only a handful of wholesome ingredients. Silicone molds work best especially fun shapes like bones or paws.
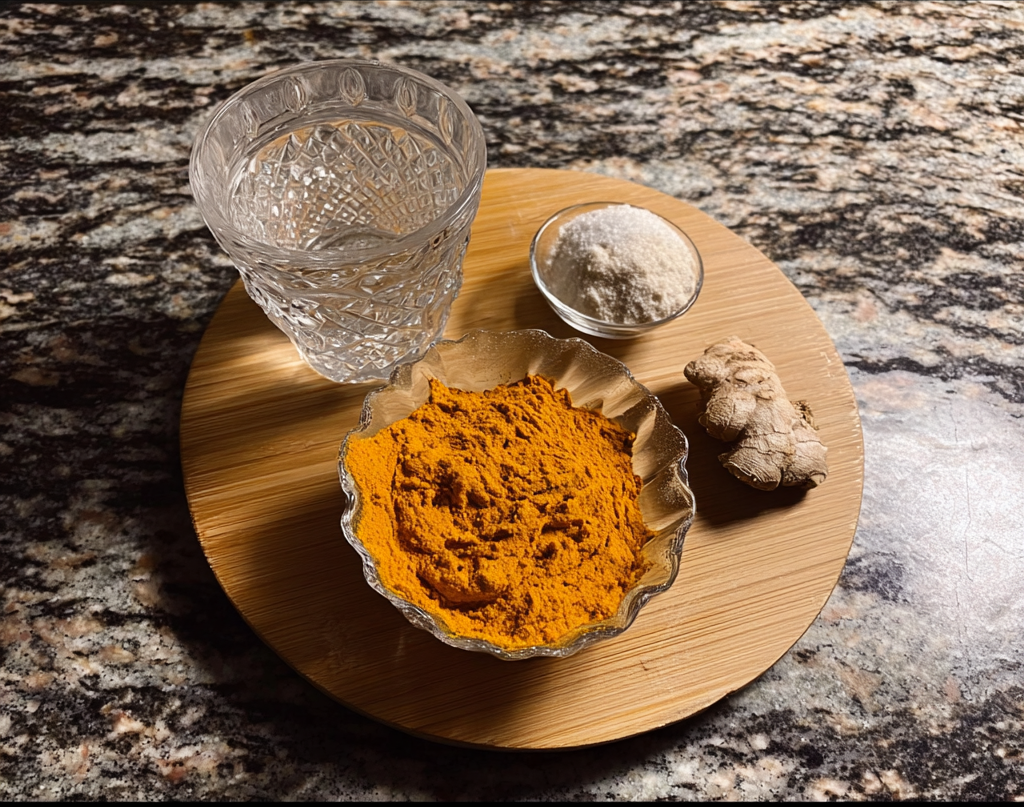
Ingredients
- ½ cup turmeric powder (organic preferred)
- 1 cup water
- ¼ cup coconut oil (cold-pressed, unrefined)
- ½ teaspoon ground black pepper
- ¼ cup unsweetened pumpkin purée (optional, for digestion)
- ¼ cup natural peanut butter (optional, xylitol-free)
Instructions
Step 1: Make the Turmeric Paste
In a small saucepan, combine turmeric powder and water over medium-low heat. Stir continuously for 7–10 minutes until a thick paste forms. Add a splash of water if needed.
Step 2: Add Coconut Oil and Pepper
Remove from heat and stir in the coconut oil and black pepper. These are essential for helping your dog absorb turmeric’s benefits.
Step 3: Mix in Optional Add-Ins
If using pumpkin or peanut butter, stir them in until fully blended. These help balance turmeric’s flavor and improve palatability.
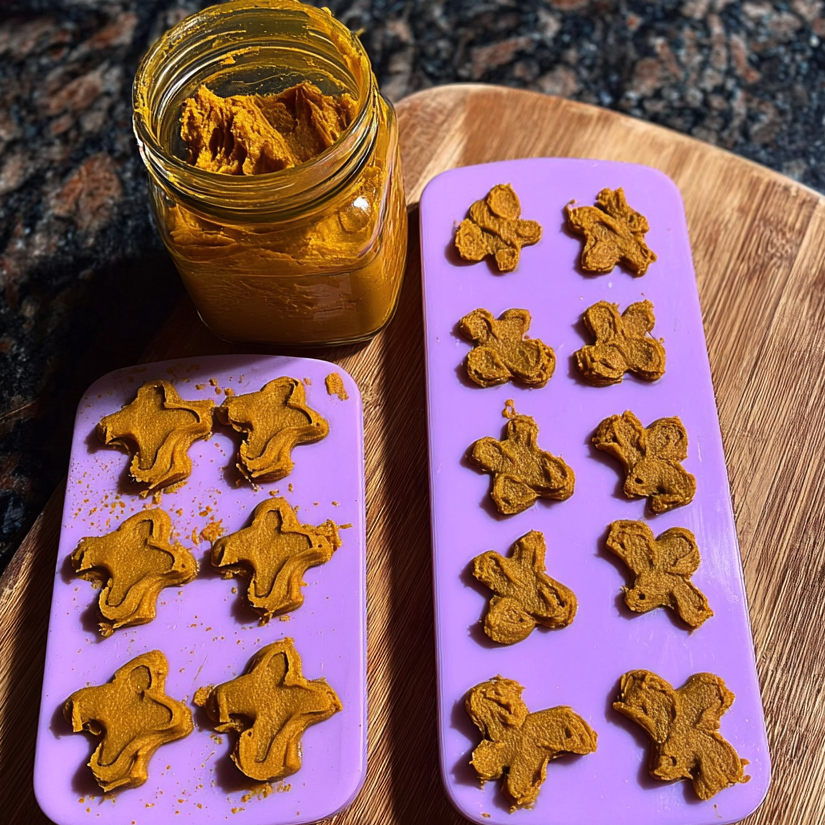
Step 4: Fill the Molds
Spoon the mixture into silicone molds, smoothing the tops and tapping the mold lightly to remove air pockets.
Step 5: Freeze
Freeze for 2–3 hours, or until solid. Once frozen, remove and store in an airtight container for up to 3 months.
Tips for Best Results
- Turmeric stains easily handle with care or wear gloves.
- Silicone molds make removal effortless.
- Pumpkin and peanut butter help picky eaters enjoy the flavor.
- These are freezer treats, not baked biscuits serve cold.
A Treat With Purpose
What I love most about these treats is that they’re both delicious and functional. Each golden bite supports joint health, reduces inflammation, and delivers healthy fats and fiber. Best of all, I know exactly what’s in them no preservatives, no fillers, just real ingredients.
They’ve become part of Charlie’s routine. After walks, he heads straight to the freezer. If we’re out, I get “the look.” You dog parents know exactly what I mean.
Customizing for Your Dog
One of the best things about homemade treats is how adaptable they are:
- Senior dogs may benefit from added collagen or bone broth
- Sensitive stomachs may prefer pumpkin-only versions
- Peanut butter fans love an extra spoonful
- Allergy-prone pups do best with fewer ingredients
You can even create layered treats by freezing one flavor first, then adding another—yogurt, fruit purée, or pumpkin all work beautifully.
More Ways to Use Golden Paste
Golden paste doesn’t have to stop at frozen treats. You can:
- Mix it into oat-based dough and bake soft cookies
- Swirl it into yogurt for probiotic pup cups
- Blend it with dog-safe fruit for summer snacks
It’s a versatile base that works year-round.
Why Ingredient Quality Matters
Choosing high-quality ingredients makes a noticeable difference. Organic turmeric offers richer color and potency. Cold-pressed coconut oil supports skin and coat health. Peanut butter should always be free of xylitol and added sugars. And pumpkin purée should be plain not pie filling.
More Than Just a Treat
Every batch of these golden treats feels like a small act of love. Charlie has been with me through so many seasons of life, and making something that supports his health feels like giving back a fraction of the joy he gives me daily.
Homemade dog treats aren’t just about nutrition they’re about care, routine, and connection. And for us, these golden paste treats have become a tradition worth keeping.

Homemade Golden Paste Dog Treats for Joint Health
I still remember the very first time I made golden paste for my senior Labrador, Charlie. He had started moving a little slower, especially in his hips, and while his diet was already nutritious, I wanted to add something natural to support his joints. That’s when I discovered turmeric and its powerful anti-inflammatory benefits.
At first, I simply mixed a small spoonful of golden paste into his meals. He liked it well enough, but I wanted to turn it into something more exciting something that felt like a reward, not just a supplement. That’s when inspiration struck: why not transform it into a chewy, homemade treat? Easy to store, shaped like his favorite bones, and perfect for those “good boy” moments. And just like that, our Golden Paste Dog Treat tradition was born.
Ingredients
- ½ cup turmeric powder (organic preferred)
- 1 cup water
- ¼ cup coconut oil (cold-pressed, unrefined)
- ½ teaspoon ground black pepper
- ¼ cup unsweetened pumpkin purée (optional, for digestion)
- ¼ cup natural peanut butter (optional, xylitol-free)
Instructions
Step 1: Make the Turmeric Paste In a small saucepan, combine turmeric powder and water over medium-low heat. Stir continuously for 7–10 minutes until a thick paste forms. Add a splash of water if needed.
Step 2: Add Coconut Oil and Pepper Remove from heat and stir in the coconut oil and black pepper. These are essential for helping your dog absorb turmeric’s benefits.
Step 3: Mix in Optional Add-InsIf using pumpkin or peanut butter, stir them in until fully blended. These help balance turmeric’s flavor and improve palatability.
Step 4: Fill the Molds Spoon the mixture into silicone molds, smoothing the tops and tapping the mold lightly to remove air pockets.
Step 5: Freeze Freeze for 2–3 hours, or until solid. Once frozen, remove and store in an airtight container for up to 3 months.
Notes
Nutrition Information:
Yield: 30 Serving Size: 1 treatAmount Per Serving: Calories: 20Total Fat: 1.8gSaturated Fat: 1.4gTrans Fat: 0gUnsaturated Fat: 0.4gCholesterol: 0mgSodium: 2mgCarbohydrates: 1.2gFiber: 0.5gSugar: 0gProtein: 0.3g