If you’ve ever caught your dog sitting patiently in the kitchen tail swishing, nose working overtime, eyes glued to your hands you already understand the magic of homemade dog treats. There’s something deeply satisfying about making something from scratch that you know is both safe and exciting for your pup.
Today’s recipe is one of my all-time favorites: Homemade Salmon Jerky Dog Treats. These simple, protein-rich snacks are packed with omega-3 fatty acids, naturally support skin and coat health, and deliver that irresistible fishy aroma dogs can’t resist.
This recipe became a regular in my home during a winter when my dog, Tucker, started struggling with dry, itchy skin. Our vet suggested adding more omega-3s to his diet, so I began experimenting with salmon treats. The results were incredible his coat became noticeably shinier, his itching eased, and he quickly decided these jerky strips were his new favorite reward.
Why Salmon Jerky Is a Great Choice for Dogs
Salmon is one of the best natural sources of omega-3 fatty acids, which help reduce inflammation, support joint health, and improve skin and coat condition. It’s also a lean, high-quality protein that supports muscle health and overall vitality.
While salmon jerky is popular in stores, many commercial options contain excess salt, preservatives, or seasonings that aren’t dog-safe. Making your own ensures every ingredient is clean, simple, and tailored to your dog’s needs.
Ingredients You’ll Need
This recipe is wonderfully straightforward and uses whole, dog-friendly ingredients:
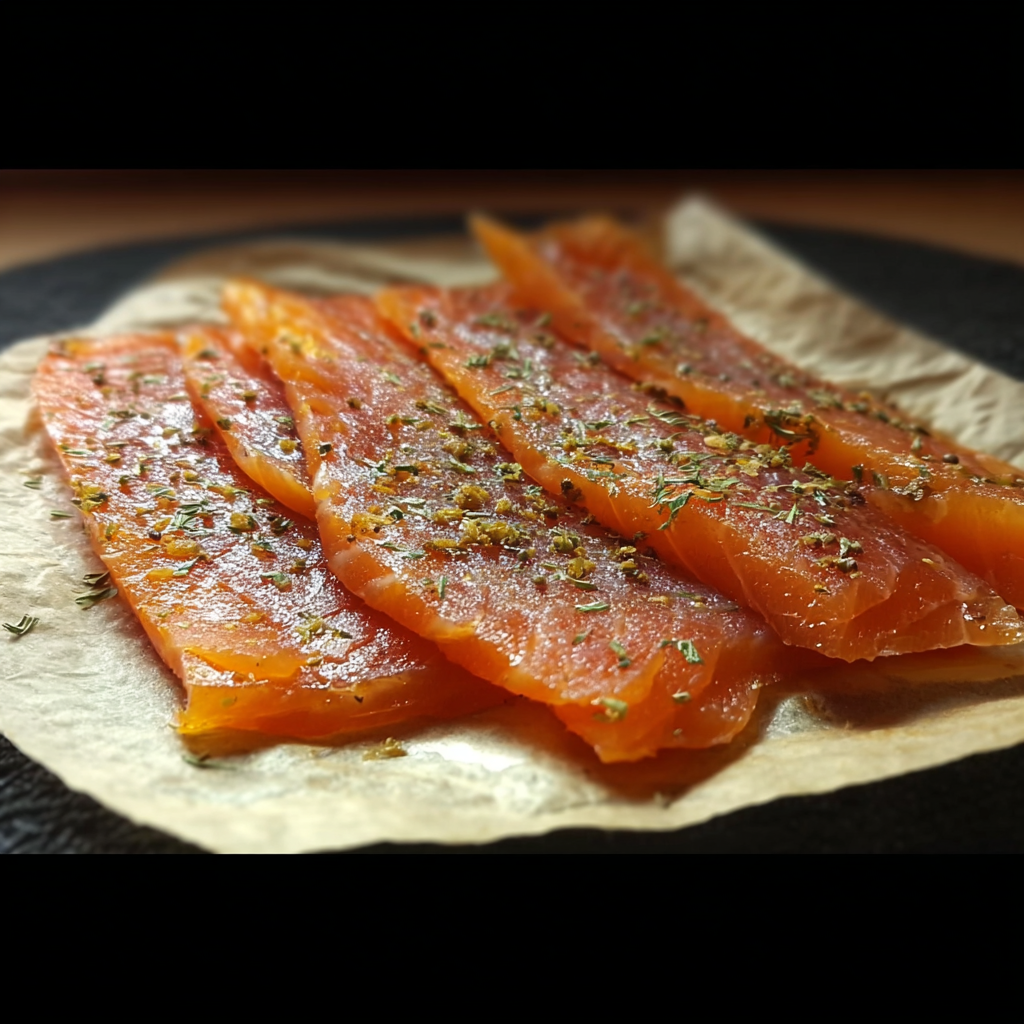
- 1–1½ pounds fresh salmon (wild-caught preferred; skin on or off)
- 1 tablespoon dried parsley (optional, for digestion and fresher breath)
- 1 teaspoon ground flaxseed or chia seeds (optional omega-3 boost)
- Pinch of turmeric (optional, anti-inflammatory support)
- Light sprinkle of sesame or hemp seeds (optional texture and minerals)
Important: Never use garlic, onion, salt, or seasoned rubs these are toxic to dogs.
Preparing the Salmon
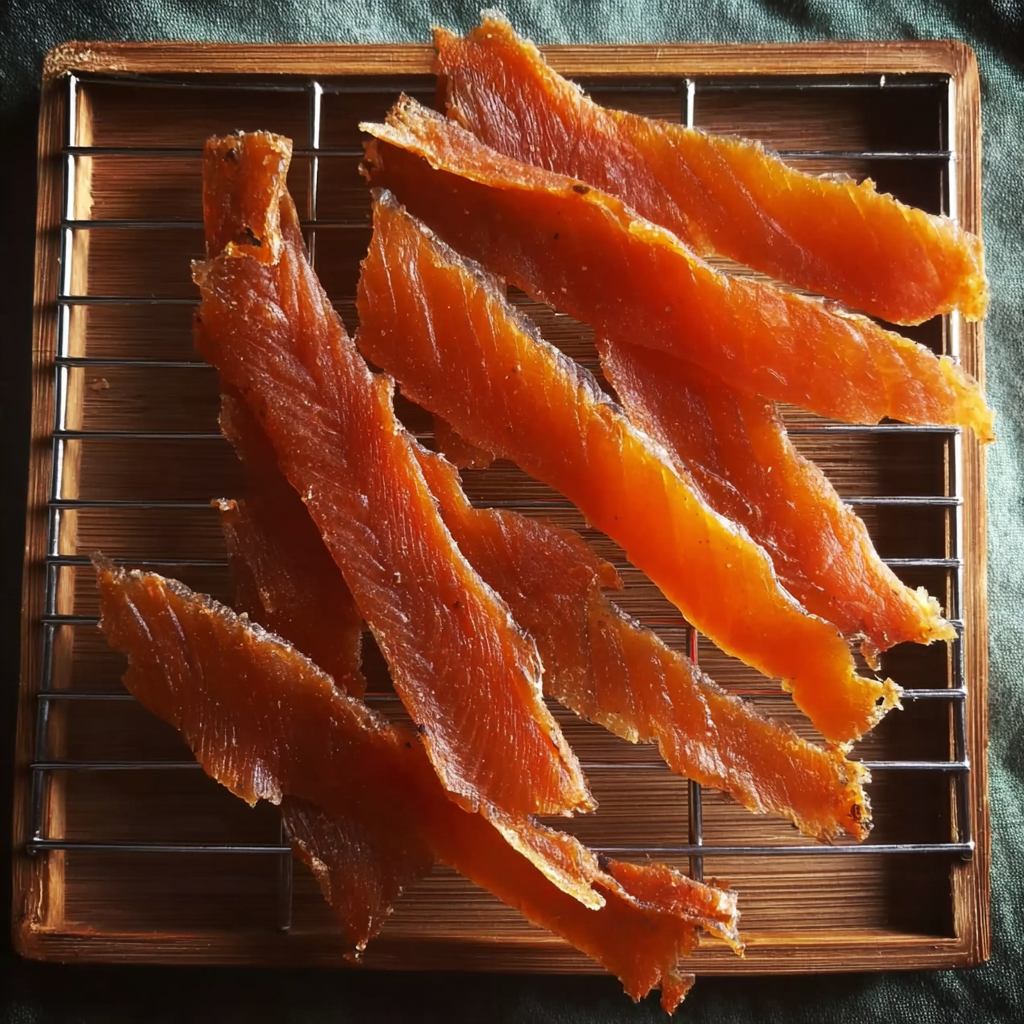
For easier slicing, place the salmon in the freezer for 20–30 minutes until slightly firm. Using a sharp knife, cut the fish into thin strips about ¼-inch thick.
- Slice with the grain for chewier jerky
- Slice against the grain if you want softer, breakable training treats
Lay the strips flat on parchment-lined baking sheets or dehydrator trays. If using optional toppings, sprinkle them lightly over the salmon for added nutrition and texture.
Dehydrator vs. Oven Method
Dehydrator Method (Preferred)
Set your dehydrator to 145°F (63°C) and dry for 6–8 hours, checking periodically. The jerky should be dry but still slightly pliable, not brittle.
Oven Method
Set your oven to its lowest temperature (typically 170°F or lower). Bake for 3–4 hours, flipping halfway through. Crack the oven door open slightly to allow moisture to escape.
Either method works well just be prepared for your kitchen to smell wonderfully (or intensely) like salmon.
Storage & Shelf Life
Once fully cooled, store the salmon jerky in an airtight container:
- Refrigerator: up to 10 days
- Freezer: up to 3 months
Because there are no preservatives, refrigeration or freezing is recommended. Only remove what you’ll use within a few days.
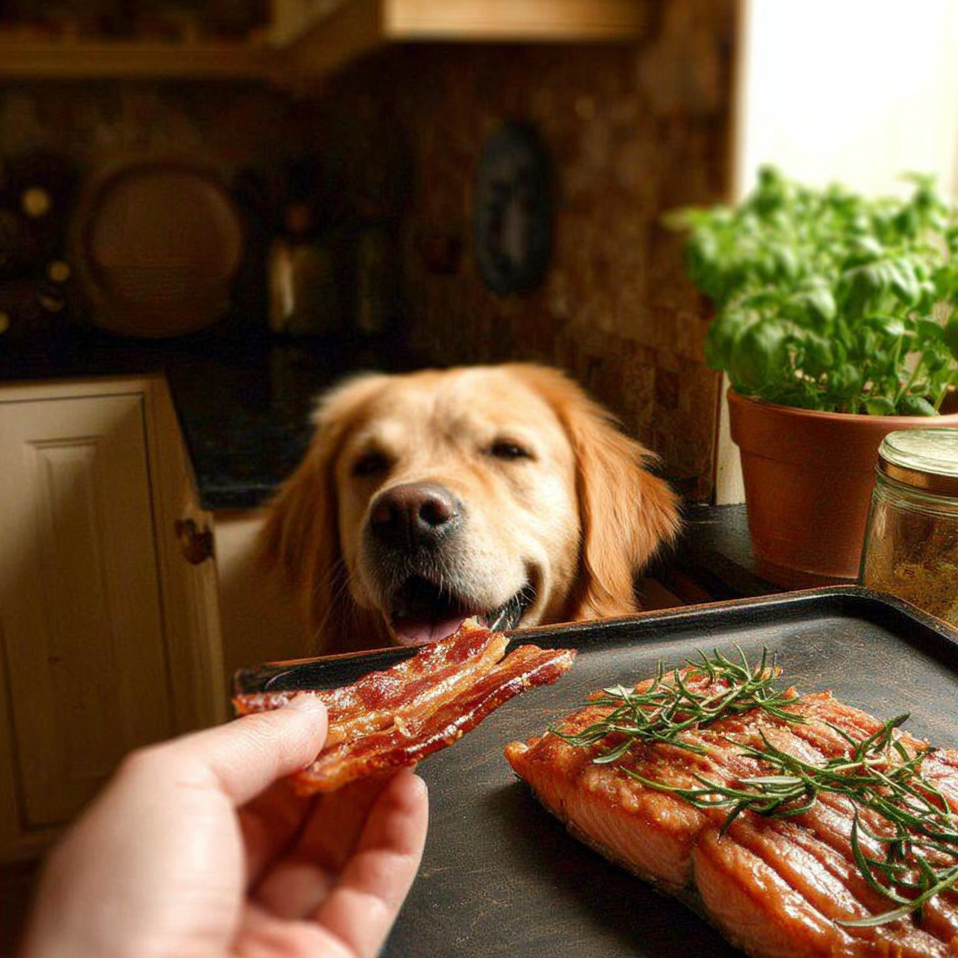
Using Salmon Jerky for Training & Bonding
These jerky strips are perfect for training sessions. Break them into small pieces the aroma alone is usually enough to keep your dog’s full attention. I’ve even used them during introductions with new dogs, helping create positive associations and build trust.
There’s something special about watching your dog respond to a treat you made yourself it turns training into a shared experience rather than a chore.
Ingredient Swaps & Flavor Variations
If salmon isn’t available or your dog prefers variety, you can substitute:
- Trout
- Whitefish
- Chicken breast (for a non-fish option)
Introduce new proteins slowly and monitor for sensitivities.
For gentle flavor twists, try:
- Salmon with unsweetened coconut flakes
- Salmon with finely grated carrot or beet
- Salmon brushed lightly with dog-safe homemade peanut butter
Why I Keep Making These Treats
Every batch reminds me why homemade dog treats are worth the effort. Knowing exactly what goes into Tucker’s snacks and seeing the joy on his face when he smells them makes the time well spent.
If you enjoy experimenting in the kitchen, these salmon jerky treats pair perfectly with other homemade favorites like oatmeal cookies, banana biscuits, or pumpkin-based snacks.
Final Thoughts
Making salmon jerky at home is more than just preparing a dog treat it’s a way to support your dog’s health, strengthen your bond, and feed them with intention. With just a few simple ingredients and a bit of patience, you can create a treat your dog will genuinely love.
Disclaimer: These treats are intended for occasional use and should not replace a complete, balanced diet. Always consult your veterinarian before introducing new foods, especially if your dog has allergies or medical conditions.

Homemade Salmon Jerky Dog Treats for Healthy Skin & Coat
If you’ve ever caught your dog sitting patiently in the kitchen tail swishing, nose working overtime, eyes glued to your hands you already understand the magic of homemade dog treats. There’s something deeply satisfying about making something from scratch that you know is both safe and exciting for your pup.
Today’s recipe is one of my all-time favorites: Homemade Salmon Jerky Dog Treats. These simple, protein-rich snacks are packed with omega-3 fatty acids, naturally support skin and coat health, and deliver that irresistible fishy aroma dogs can’t resist.
This recipe became a regular in my home during a winter when my dog, Tucker, started struggling with dry, itchy skin. Our vet suggested adding more omega-3s to his diet, so I began experimenting with salmon treats. The results were incredible his coat became noticeably shinier, his itching eased, and he quickly decided these jerky strips were his new favorite reward.
Ingredients
- 1–1½ pounds fresh salmon (wild-caught preferred; skin on or off)
- 1 tablespoon dried parsley (optional, for digestion and fresher breath)
- 1 teaspoon ground flaxseed or chia seeds (optional omega-3 boost)
- Pinch of turmeric (optional, anti-inflammatory support)
- Light sprinkle of sesame or hemp seeds (optional texture and minerals)
Instructions
- Place the salmon in the freezer for 20–30 minutes to firm it up, making it easier to slice evenly.
Preheat your dehydrator to 145°F (63°C) or set your oven to its lowest temperature (usually around 170°F).
Using a sharp knife, slice the salmon into ¼-inch-thick strips, about 1 inch wide. Slice with the grain for chewier jerky or against the grain for a softer, break-apart texture.
Arrange the salmon strips in a single layer on dehydrator trays or on a parchment-lined baking sheet.
If desired, lightly sprinkle the strips with dried parsley, flaxseed or chia seeds, turmeric, and sesame or hemp seeds.
Dehydrate for 6–8 hours, or bake in the oven for 3–4 hours, flipping the strips halfway through drying.
Allow the jerky to cool completely before handling or storing.
Store in an airtight container in the refrigerator for up to 10 days, or freeze for up to 3 months.
Notes
Adjust drying time to suit your preference—longer for chewier jerky, slightly shorter for a softer texture.
If your dog is new to fish-based treats, introduce them gradually to avoid digestive upset.
Line trays with parchment paper or silicone mats to prevent sticking and simplify cleanup
Nutrition Information:
Yield: 20 Serving Size: 1 stripAmount Per Serving: Calories: 35Total Fat: 1.5gSaturated Fat: 0.3gTrans Fat: 0gUnsaturated Fat: 1.2gCholesterol: 10mgSodium: 10mgCarbohydrates: 0.5gFiber: 0.2gSugar: 0gProtein: 5g