There’s something truly special about baking dog treats from scratch something a store-bought bag can never quite match. Maybe it’s the way your dog suddenly appears in the kitchen the moment the oven turns on, or the comfort of knowing exactly what’s going into their snacks. For me, it’s all of that and more.
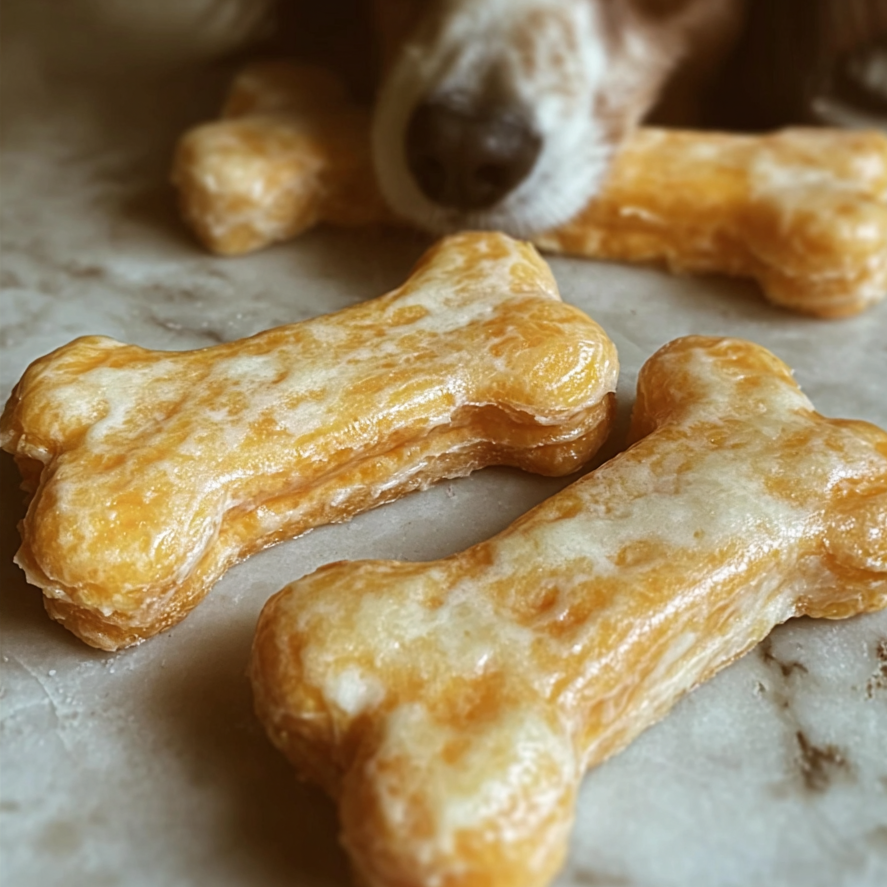
I began making homemade dog treats when my pup, benji, started dealing with a sensitive stomach. What started as a necessity quickly became a ritual a bonding experience, a creative outlet, and even a little form of self-care. Today, I’m sharing one of benji’s all-time favorite recipes: Cheesy Cheddar Bone Crunchies.
These treats are savory, crunchy, easy to make, and completely pup-approved. If your dog loves cheese even half as much as benji does, expect instant tail wags the moment they smell cheddar baking.
A Crunchy Cheddar Classic with a Homemade Touch
This recipe has a comforting, nostalgic feel similar to the cheesy biscuits many of us grew up with, but thoughtfully reimagined for our canine companions. One of the things I love most is how adaptable it is. Whether you’re baking for a picky eater or a pup with food sensitivities, this recipe can easily be adjusted.
Ingredients
- 1 cup shredded cheddar cheese
- 1½ cups whole wheat flour (or oat flour for grain-sensitive dogs)
- ½ cup unsweetened applesauce
- ¼ cup low-sodium chicken broth (or water)
- 1 egg, whisked (optional, for brushing)
Ingredient Breakdown: Why They Work
Shredded Cheddar Cheese
Cheese is a favorite among dogs, and for good reason. It’s packed with protein and calcium and adds irresistible flavor. Sharp cheddar works especially well because you can use less while still getting plenty of taste.
Whole Wheat or Oat Flour
Whole wheat flour provides fiber and nutrients for most dogs. If your pup struggles with grains, oat flour is a great gluten-free alternative that still produces a lovely texture.
Unsweetened Applesauce
This ingredient adds moisture and helps bind the dough, while offering a gentle natural sweetness. Always choose unsweetened applesauce to avoid added sugars.
Low-Sodium Chicken Broth
Broth enhances the savory flavor dogs adore. Water works just as well if your dog needs a lower-sodium option.
Egg (Optional)
Brushing the treats with egg before baking gives them a golden sheen and slightly crispier finish. Totally optional—but a nice touch if you want to spoil your pup.
How to Make Cheesy Cheddar Bone Crunchies
Prep Time: 15 minutes
Bake Time: 20–25 minutes
Step 1: Preheat the Oven
Preheat your oven to 350°F (175°C). Line a baking sheet with parchment paper.
Step 2: Make the Dough
In a large bowl, combine the cheddar cheese, flour, and applesauce. Gradually add the broth or water, mixing until a firm but workable dough forms.
- Too sticky? Add flour one tablespoon at a time.
- Too dry? Add a splash more liquid.
Step 3: Roll and Cut
Lightly flour your surface and roll the dough to about ¼-inch thickness. Cut into shapes using a cookie cutter or knife.
Step 4: Bake
Place the treats on the baking sheet. Brush with egg if using. Bake for 20–25 minutes, until the edges are golden and slightly crisp.
Step 5: Cool and Store
Let treats cool completely before serving they’ll firm up as they cool. Store in an airtight container for up to one week, or freeze for longer storage.
Customizing for Your Dog’s Needs
- Sensitive stomach: Use oat flour and water instead of broth
- Lower fat: Choose low-fat cheddar or reduce the cheese slightly and add more applesauce
- Extra crunch: Turn the oven off and leave treats inside for an additional 30 minutes
A Little Story Behind the Cheese
The first time I made these cheddar crunchies was during a snowstorm. benji and I were stuck indoors, and I had leftover cheddar from dinner. That batch didn’t last long benji devoured every single one, tail wagging after each bite. Since then, these biscuits have become a cozy, cold-weather favorite in our house.
They smell so good baking, you might even be tempted to try one yourself. (I have they’re bland for humans, but dogs think they’re gourmet.)
Storage & Serving Tips
Keep these treats in a cool, dry place in an airtight container. Frozen, they’ll last up to three months and thaw quickly.
Pro tip: Crumble a treat over your dog’s regular meal to instantly upgrade dinner time with extra flavor and crunch.
Important Safety Note
These treats are meant to be enjoyed in moderation and should not replace a balanced diet. Always introduce new treats slowly, especially for dogs with allergies or sensitivities. When in doubt, consult your veterinarian.

Homemade Cheddar Cheese Treats Dogs Can’t Resist
There’s something truly special about baking dog treats from scratch something a store-bought bag can never quite match. Maybe it’s the way your dog suddenly appears in the kitchen the moment the oven turns on, or the comfort of knowing exactly what’s going into their snacks. For me, it’s all of that and more.
I began making homemade dog treats when my pup, benji, started dealing with a sensitive stomach. What started as a necessity quickly became a ritual a bonding experience, a creative outlet, and even a little form of self-care. Today, I’m sharing one of benji’s all-time favorite recipes: Cheesy Cheddar Bone Crunchies.
These treats are savory, crunchy, easy to make, and completely pup-approved. If your dog loves cheese even half as much as benji does, expect instant tail wags the moment they smell cheddar baking.
Ingredients
- 1 cup shredded cheddar cheese
- 1½ cups whole wheat flour (or oat flour for grain-sensitive dogs)
- ½ cup unsweetened applesauce
- ¼ cup low-sodium chicken broth (or water)
- 1 egg, whisked (optional, for brushing)
Instructions
Step 1: Preheat the Oven
Preheat your oven to 350°F (175°C). Line a baking sheet with parchment paper.
Step 2: Make the Dough
In a large bowl, combine the cheddar cheese, flour, and applesauce. Gradually add the broth or water, mixing until a firm but workable dough forms.
- Too sticky? Add flour one tablespoon at a time.
- Too dry? Add a splash more liquid.
Step 3: Roll and Cut
Lightly flour your surface and roll the dough to about ¼-inch thickness. Cut into shapes using a cookie cutter or knife.
Step 4: Bake
Place the treats on the baking sheet. Brush with egg if using. Bake for 20–25 minutes, until the edges are golden and slightly crisp.
Step 5: Cool and Store
Let treats cool completely before serving they’ll firm up as they cool. Store in an airtight container for up to one week, or freeze for longer storage.
Notes
- Swap in oat flour for a gluten-free option that’s gentle on sensitive stomachs.
For a crispier texture, turn off the oven and let the treats sit inside for an additional 30 minutes after baking.
Store cooled treats in an airtight container for up to one week, or freeze to extend freshness.
Introduce new treats slowly and in small amounts to monitor for any allergies or sensitivities.
Nutrition Information:
Yield: 24 Serving Size: 1 treatAmount Per Serving: Calories: 35Total Fat: 2gSaturated Fat: 1,2gTrans Fat: 0gUnsaturated Fat: 0.6gCholesterol: 5mgSodium: 25mgCarbohydrates: 3.5gFiber: 0.4gSugar: 0.3gProtein: 1,5g