
1. A Tail-Wagging Family Tradition
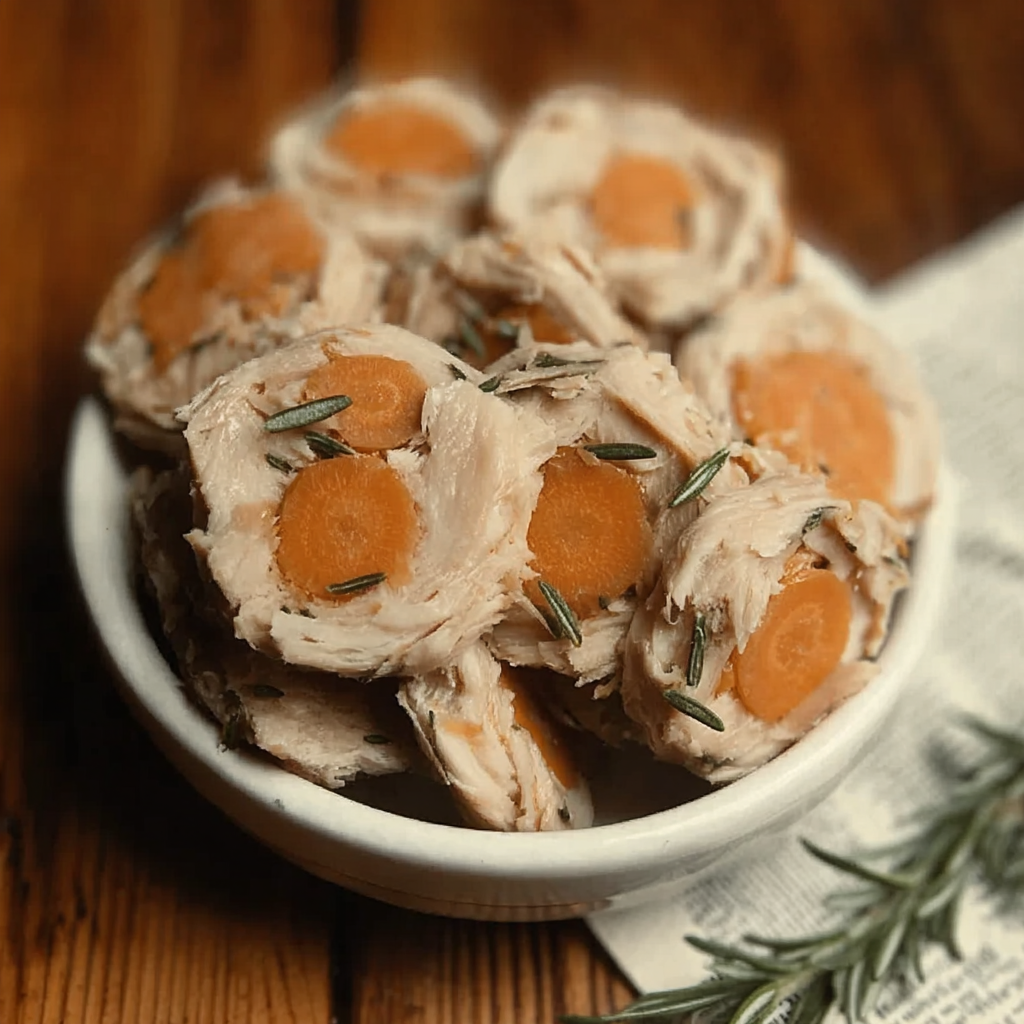
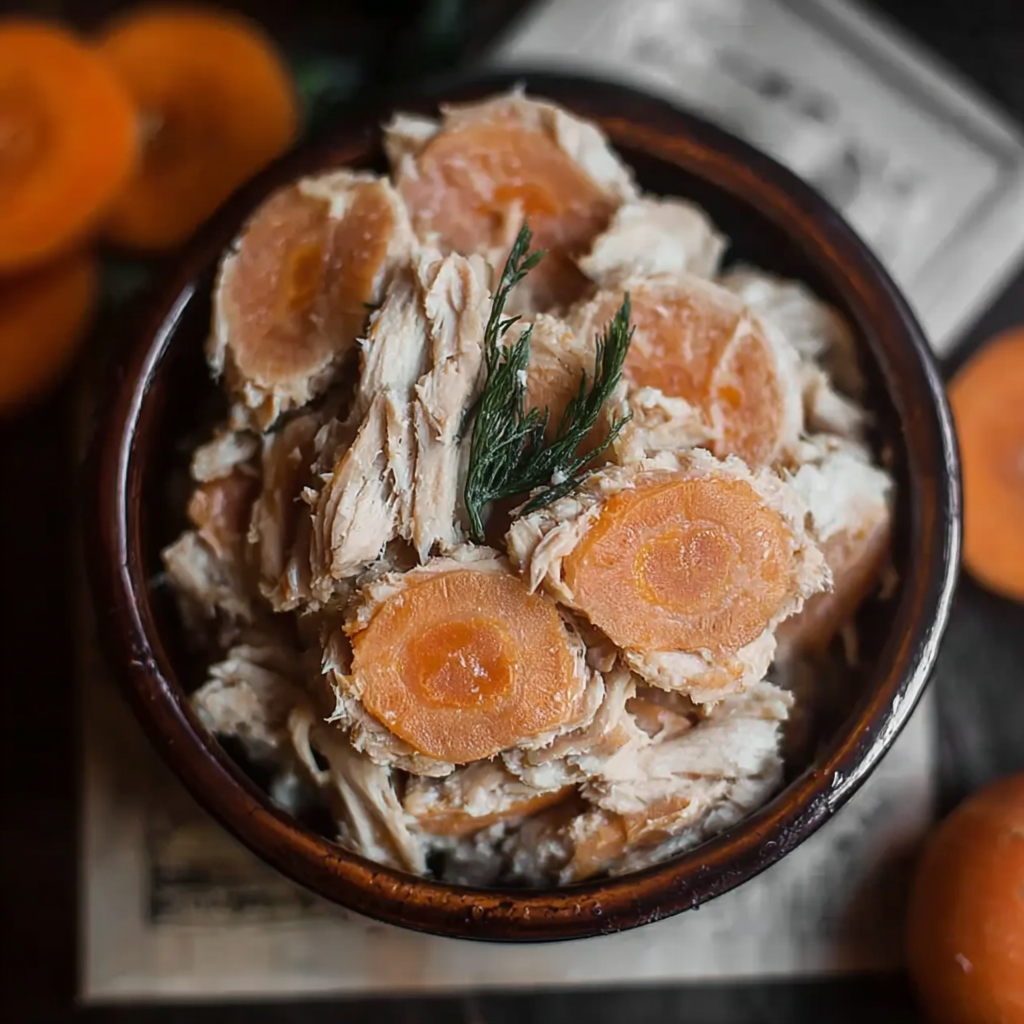
Chicken & Carrot Protein Snacks for Dogs
Growing up, summers in my Benji’s kitchen were filled with love, laughter and special treats for everyone in the family, including our dogs. She truly believed that nourishing food was a form of care, no matter who it was for. Inspired by those memories, I created these Chicken & Carrot Protein Snacks for Dogs a simple, wholesome recipe made with lean protein and fresh vegetables that’s perfect for warm weather days.
These homemade dog treats are easy to make, packed with goodness, and crafted from everyday kitchen staples. Whether you’re training a playful puppy or spoiling a senior companion, these snacks are sure to earn enthusiastic tail wags.
2. Why Chicken and Carrots Are a Winning Combo
This recipe shines because of its two star ingredients:
- Chicken is a lean, easily digestible protein that supports strong muscles and provides essential amino acids. It’s an excellent option for dogs with sensitive stomachs or those needing a lower-fat diet.
- Carrots add a natural crunch and subtle sweetness while delivering beta-carotene, fiber, and antioxidants. They support eye health and digestion and most dogs love the taste.
Together, chicken and carrots create a balanced, low-calorie snack without fillers or preservatives, making it ideal for dogs who need healthy rewards, especially during the summer months.
3. Ingredients & Prep Overview
Yield: About 12 dog snacks
Prep Time: 15 minutes
Cook Time: 25 minutes
Total Time: 40 minutes
Ingredients
- 1 cup finely chopped cooked chicken breast (skinless, boneless)
- ½ cup shredded carrots
- 1 egg (binder)
- ¼ cup oat flour (or finely ground oats)
- 1 tbsp chopped parsley (optional, for fresh breath)
- 1 tbsp olive oil
Equipment Needed
- Mixing bowl
- Baking tray
- Parchment paper or silicone baking mat
- Food processor (optional)
- Measuring cups and spoons
Helpful Tip: Stick with boiled or poached chicken. Avoid fried or seasoned meat, as spices and oils can upset your dog’s stomach.
4. Step-by-Step Instructions
Step 1: Preheat the Oven
Preheat to 350°F (175°C). Line a baking tray with parchment paper or a silicone mat.
Step 2: Combine the Ingredients
In a large bowl, mix the chicken, carrots, and parsley. In a separate bowl, whisk the egg with olive oil, then fold it into the chicken mixture.
Slowly add the oat flour until a soft dough forms. If it feels sticky, add a bit more flour; if dry, mix in a splash of water.
Step 3: Shape the Treats
Roll the dough into small balls or shape into bone-style cookies. Aim for 1-inch pieces for small dogs, slightly larger for bigger breeds.
Step 4: Bake
Arrange the treats evenly on the tray and bake for 20–25 minutes, until lightly golden and firm. They’ll harden more as they cool.
Step 5: Cool and Store
Let the treats cool completely before storing. Keep them in an airtight container in the refrigerator for up to 7 days, or freeze for up to 2 months.
Bonus: You can also dehydrate these treats for an extra-crunchy texture.
5. Health Benefits for Your Dog
Unlike many store bought treats, these homemade snacks skip artificial additives and focus on real nutrition:
- Lean Protein Support: Chicken helps maintain muscle strength and provides energy for active dogs.
- Low-Calorie Nutrition: Carrots deliver vitamins and fiber without unnecessary calories.
- Digestive Friendly: Free from wheat, corn, and soy, making them suitable for many dogs with sensitivities.
- Skin & Coat Health: Olive oil provides healthy fats that support a shiny coat and reduce dryness.
6. Fun Summer Serving Ideas
Make snack time extra exciting with these warm weather ideas:
- Frozen Dough Bites: Roll the dough into balls and freeze before baking for a cool, chewy treat.
- Treat Ice Cubes: Add small baked pieces to low-sodium chicken broth, freeze, and serve as pup pops.
- Garden Snack Plate: Pair with cucumber slices, seedless apple, or a spoon of plain Greek yogurt.
- Training Rewards: Break into tiny pieces for games like fetch or hide-and-seek.
Always supervise your dog when offering new treats.
7. Storage Tips & Easy Variations

Storage
- Refrigerator: Up to 1 week in an airtight container
- Freezer: Up to 2 months
- Room Temperature: Only if fully dehydrated
Recipe Variations
- Swap carrots for pumpkin for digestive support
- Add blueberries for an antioxidant boost
- Use salmon instead of chicken for extra omega-3s
- Make it grain-free with coconut or almond flour
8. Final Thoughts
Making homemade dog treats is a simple but powerful way to show love. These Chicken & Carrot Protein Snacks for Dogs are nutritious, budget-friendly, and made with care just the way our dogs deserve.
If you try this recipe, we’d love to hear how it went! Share your pup’s reaction in the comments or tag us on social media with a photo of your furry taste-tester.
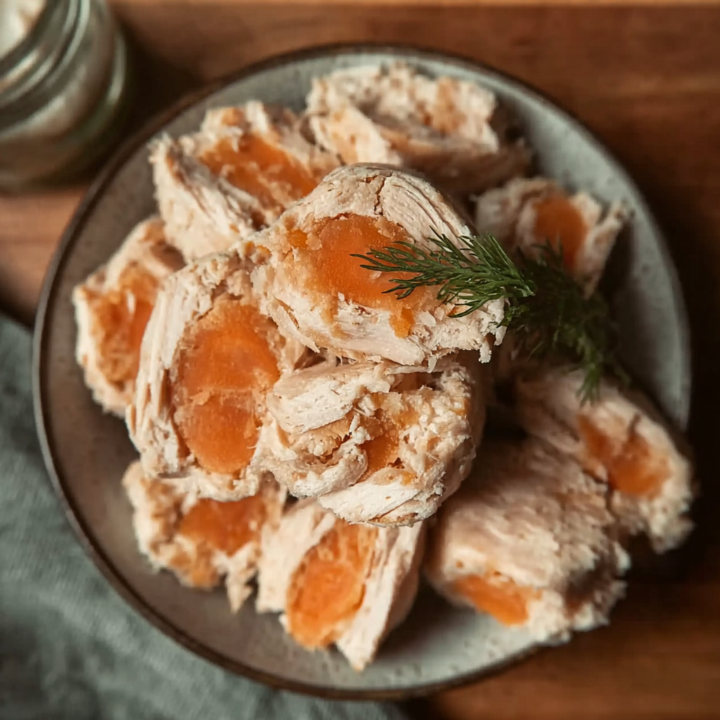
Chicken & Carrot High-Protein Dog Treats
Growing up, summers in my Benji’s kitchen were filled with love, laughter and special treats for everyone in the family, including our dogs. She truly believed that nourishing food was a form of care, no matter who it was for. Inspired by those memories, I created these Chicken & Carrot Protein Snacks for Dogs a simple, wholesome recipe made with lean protein and fresh vegetables that’s perfect for warm weather days.
These homemade dog treats are easy to make, packed with goodness, and crafted from everyday kitchen staples. Whether you’re training a playful puppy or spoiling a senior companion, these snacks are sure to earn enthusiastic tail wags.
Ingredients
- 1 cup finely chopped cooked chicken breast (skinless, boneless)
- ½ cup shredded carrots
- 1 egg (binder)
- ¼ cup oat flour (or finely ground oats)
- 1 tbsp chopped parsley (optional, for fresh breath)
- 1 tbsp olive oil
Instructions
Step 1: Preheat the OvenPreheat to 350°F (175°C). Line a baking tray with parchment paper or a silicone mat.
Step 2: Combine the IngredientsIn a large bowl, mix the chicken, carrots, and parsley. In a separate bowl, whisk the egg with olive oil, then fold it into the chicken mixture.
Slowly add the oat flour until a soft dough forms. If it feels sticky, add a bit more flour; if dry, mix in a splash of water.
Step 3: Shape the TreatsRoll the dough into small balls or shape into bone-style cookies. Aim for 1-inch pieces for small dogs, slightly larger for bigger breeds.
Step 4: BakeArrange the treats evenly on the tray and bake for 20–25 minutes, until lightly golden and firm. They’ll harden more as they cool.
Step 5: Cool and StoreLet the treats cool completely before storing. Keep them in an airtight container in the refrigerator for up to 7 days, or freeze for up to 2 months
Notes
- Swap carrots for pumpkin for digestive support
- Add blueberries for an antioxidant boost
- Use salmon instead of chicken for extra omega-3s
- Make it grain-free with coconut or almond flour