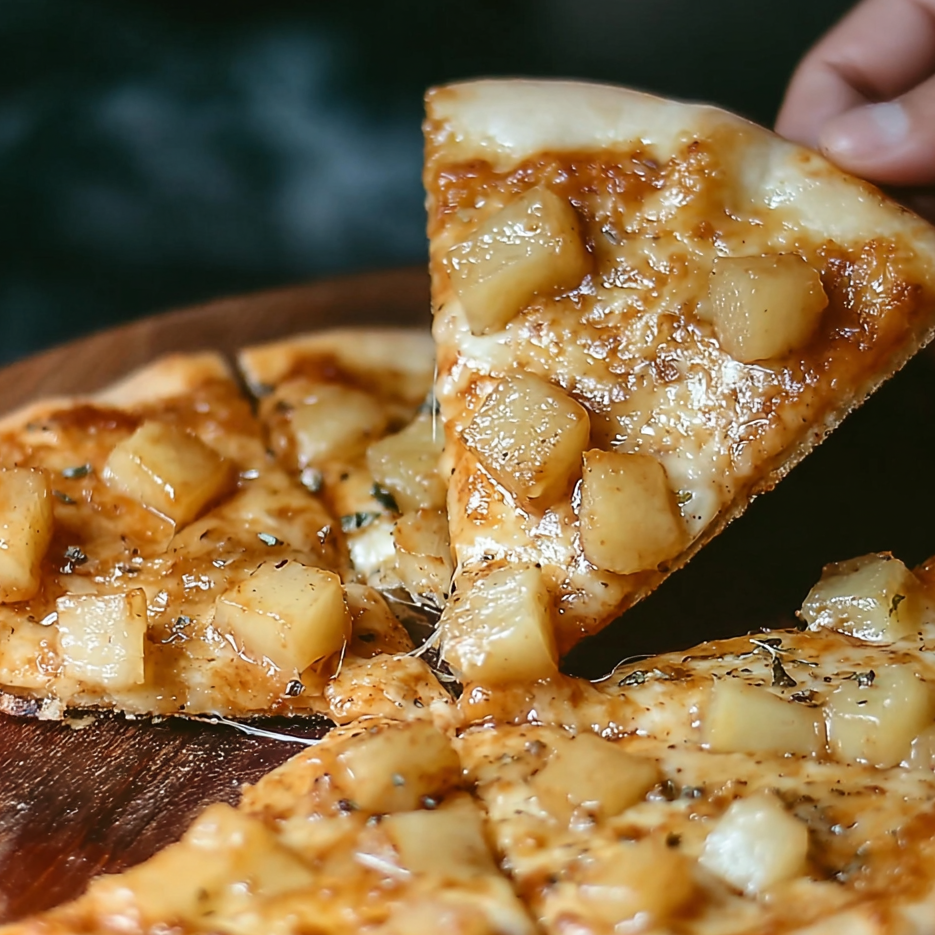
Peanut Butter & Apple Dog Pizza (A Tail-Wagging Favorite)
When it comes to spoiling our furry companions, nothing beats a homemade treat made with love and pup safe ingredients. This Peanut Butter & Apple Dog Pizza is a fun, nutritious way to treat your dog to something special complete with a dog-friendly crust, creamy peanut butter, and naturally sweet apples.
Every time I make this recipe at home, it’s met with nonstop tail wagging and impatient paw taps. It’s become one of those treats my dog instantly recognizes as something good. In this guide, I’ll walk you through each simple step so you can recreate that same excitement in your own kitchen.
If you love making wholesome treats for your pup, be sure to explore more favorites like Oatmeal Cookies for Dogs, Banana & Honey Dog Biscuits, and other unique canine snacks on our site.
Why Homemade Treats Are Worth It
With so many store-bought options available, it’s easy to wonder why homemade treats are worth the effort. The answer is simple: control, quality, and connection.
When you make treats at home, you know exactly what’s going into them no artificial preservatives, no hidden sugars, and no questionable additives. You can also customize ingredients based on your dog’s preferences or dietary needs. Most importantly, homemade treats strengthen the bond you share with your dog, turning snack time into something truly meaningful.
My dog benji knows the sound of the rolling pin means something special is coming. Watching his excitement makes every minute in the kitchen worthwhile.
Ingredients for Peanut Butter & Apple Dog Pizza
All ingredients are chosen to be safe, simple, and nourishing for dogs.
Dog-Friendly Pizza Crust
- 1½ cups whole wheat flour
(Substitute oat flour for dogs with wheat sensitivities) - 1 egg
- ½ cup unsweetened applesauce
- 1 tablespoon olive oil
Toppings
- 2 tablespoons xylitol-free peanut butter
- 1 medium apple, chopped (seeds and core removed)
- Optional: shredded carrots, chopped spinach, or a pinch of parsley
Step-by-Step Instructions
1. Preheat the Oven
Preheat your oven to 350°F (175°C). Place the rack in the middle for even baking.
2. Make the Dough
In a large bowl, combine flour, egg, applesauce, and olive oil. Mix until a dough forms. If it feels too dry, add water one tablespoon at a time until workable.
Tip: Kneading by hand helps everything come together smoothly and usually attracts a very interested dog.
3. Roll Out the Crust
Lightly flour your surface and roll the dough to about ¼-inch thickness. Shape it into a circle or use fun cutters like paws or bones.
4. Pre-Bake
Place the crust on a parchment-lined baking sheet and bake for 10–12 minutes, until lightly golden. This keeps the crust firm once toppings are added.
5. Prepare the Peanut Butter Layer
Use plain, unsweetened peanut butter with no xylitol. Measure out 2 tablespoons and spread evenly over the warm crust.
6. Add Toppings
Sprinkle chopped apples over the peanut butter. Add optional veggies if desired.
Note: Apples are rich in vitamins A and C, but always remove seeds and cores before serving.
7. Final Bake
Return the pizza to the oven for 8–10 minutes. Let it cool completely before slicing and serving.

Serving & Storage Tips
Slice the pizza into portions appropriate for your dog’s size. Smaller dogs may prefer bite-sized squares.
- Refrigerator: Store in an airtight container for up to 5 days
- Freezer: Freeze individual slices and thaw as needed
The first time Benji tried this, he danced around the kitchen like he’d won the lottery and honestly, that reaction alone makes this recipe a keeper.
Nutritional Benefits
This treat is both fun and functional:
- Peanut Butter: Healthy fats, protein, and vitamins B & E for skin and coat health
- Apples: Fiber, antioxidants, and natural sweetness
- Whole Wheat Flour: Provides fiber and essential nutrients
For more nutrient-rich treats, try Blueberry Pumpkin Oat Chews or Pumpkin Pupsicles during warmer months.
Tips for the Perfect Dog Pizza
- Try fun shapes: Mini pizzas, bones, or letters spelling your dog’s name
- Switch it up: Substitute apples with blueberries or pumpkin
- Introduce new ingredients slowly: Especially for sensitive pups
Benji surprised me by licking off the peanut butter first and carefully munching the apples afterward now this pizza is reserved for special occasions.
Final Thoughts
This Peanut Butter & Apple Dog Pizza is more than a treat it’s a way to show love, create memories, and nourish your dog with ingredients you trust. Simple to make, fun to serve, and always a hit.

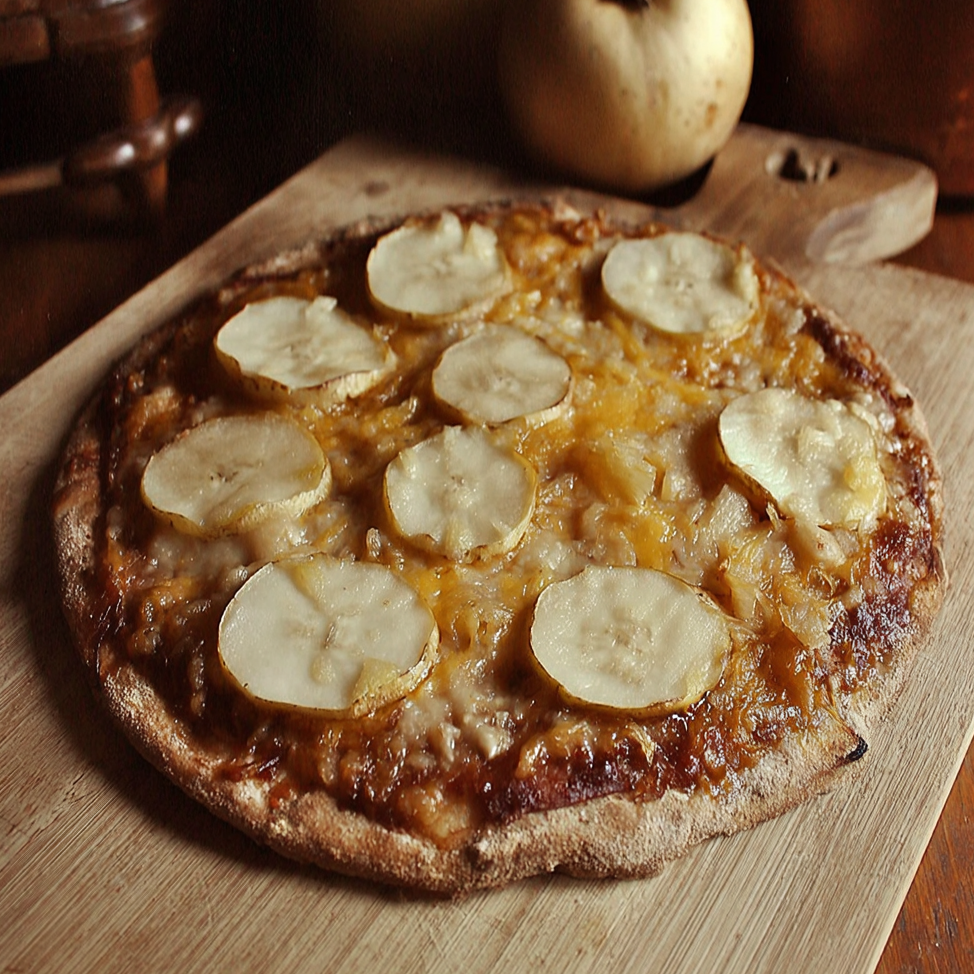
Apple & Peanut Butter Pizza for Dogs
When it comes to spoiling our furry companions, nothing beats a homemade treat made with love and pup safe ingredients. This Peanut Butter & Apple Dog Pizza is a fun, nutritious way to treat your dog to something special complete with a dog-friendly crust, creamy peanut butter, and naturally sweet apples.
Every time I make this recipe at home, it’s met with nonstop tail wagging and impatient paw taps. It’s become one of those treats my dog instantly recognizes as something good. In this guide, I’ll walk you through each simple step so you can recreate that same excitement in your own kitchen.
If you love making wholesome treats for your pup, be sure to explore more favorites like Oatmeal Cookies for Dogs, Banana & Honey Dog Biscuits, and other unique canine snacks on our site.
Ingredients
- ½ cups whole wheat flour
- (Substitute oat flour for dogs with wheat sensitivities)
- 1 egg
- ½ cup unsweetened applesauce
- 1 tablespoon olive oil
- Toppings
- 2 tablespoons xylitol-free peanut butter
- 1 medium apple, chopped (seeds and core removed)
- Optional: shredded carrots, chopped spinach, or a pinch of parsley
Instructions
1. Preheat the Oven
Preheat your oven to 350°F (175°C). Place the rack in the middle for even baking.
2. Make the Dough
In a large bowl, combine flour, egg, applesauce, and olive oil. Mix until a dough forms. If it feels too dry, add water one tablespoon at a time until workable.
Tip: Kneading by hand helps everything come together smoothly and usually attracts a very interested dog.
3. Roll Out the Crust
Lightly flour your surface and roll the dough to about ¼-inch thickness. Shape it into a circle or use fun cutters like paws or bones.
4. Pre-Bake
Place the crust on a parchment-lined baking sheet and bake for 10–12 minutes, until lightly golden. This keeps the crust firm once toppings are added.
5. Prepare the Peanut Butter Layer
Use plain, unsweetened peanut butter with no xylitol. Measure out 2 tablespoons and spread evenly over the warm crust.
6. Add Toppings
Sprinkle chopped apples over the peanut butter. Add optional veggies if desired.
Note: Apples are rich in vitamins A and C, but always remove seeds and cores before serving.
7. Final Bake
Return the pizza to the oven for 8–10 minutes. Let it cool completely before slicing and serving.
Notes
Nutrition Information:
Yield: 8 Serving Size: 1 slicesAmount Per Serving: Calories: 90Trans Fat: 0gCholesterol: 10mgSodium: 10mgCarbohydrates: 10gFiber: 2gSugar: 2gProtein: 3g