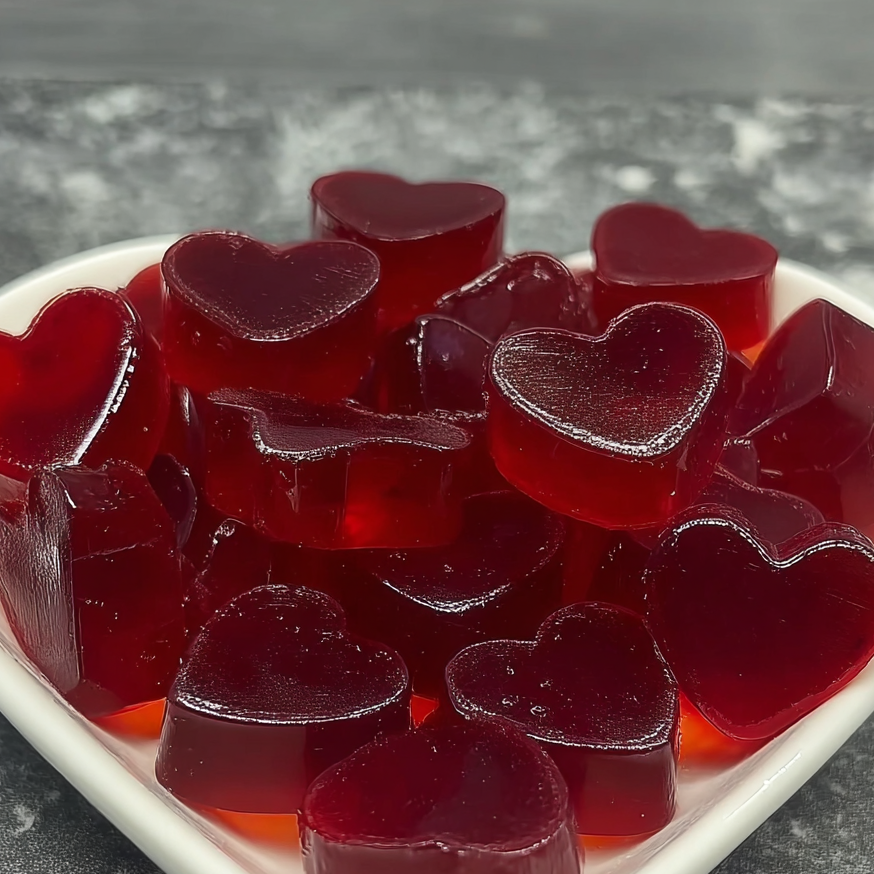
There’s something magical about making a treat your pup can enjoy straight from your kitchen especially when it looks as cute as it is nutritious. These heart shaped cranberry chicken gummies are a perfect example. Bright, ruby red, and full of flavor, they’ve quickly become a staple in our home. Beyond their adorable look and simple portioning, they blend two nutritious ingredients: tangy cranberries and rich chicken broth.
If you’ve ever had your dog nudge your leg in the kitchen or sit hopefully by the oven, you already know the joy of making something just for them. That feeling is exactly what inspired me to start creating homemade dog treats. And truthfully, these cranberry chicken gummies are one of the most rewarding recipes I’ve ever made.
The idea first sparked on a cold winter afternoon. I was sipping cranberry tea while a pot of chicken simmered on the stove for meal prep, and my pup was tucked into her blanket nearby. I couldn’t help thinking she deserved a treat of her own. She’d already enjoyed plenty of Banana & Honey Biscuits and Oatmeal Cookies from our past baking days, but this time I wanted something different chewy, flavorful, and a little unexpected.
So I started testing different combinations of broth and gelatin until the texture was just right. The end result? A tail wagging success with a pop of cranberry brightness and rich chicken flavor pups can’t resist. These aren’t just treats; they’re tiny gummy love notes made especially for our four legged friends.
Health Benefits: Cute to Look At, Even Better for Your Pup
These bright little gummies aren’t just adorable they’re packed with ingredients that actually support your dog’s health:
- Cranberries: Naturally rich in antioxidants and well known for supporting urinary tract health by helping prevent harmful bacteria from sticking.
- Chicken Broth: Adds savory flavor dogs love, while providing hydration and essential amino acids.
- Unflavored Gelatin: A natural source of collagen that can help support healthy joints, especially in aging pups.
- No junk ingredients: No sugar, no artificial colors, no preservatives just simple, dog safe goodness.
A quick reminder: cranberries are safe in moderation, but anything sweetened with raisins or xylitol is dangerous for dogs. Always stick to natural, unsweetened cranberry juice or unsweetened dried cranberries.
What You’ll Need
Everything in this recipe is simple and dog friendly chances are, you already have most of it on hand.
Ingredients:
- 1 cup unsalted, low sodium chicken broth (homemade or store bought)
- ½ cup pure, unsweetened cranberry juice (or finely chopped unsweetened dried cranberries)
- 2 tablespoons unflavored gelatin powder
- Optional: 1 teaspoon finely chopped parsley (for digestion and fresh breath)
Tools:
- Silicone heart mold (or any mold you like)
- Small saucepan
- Whisk
- Dropper or spoon for filling the molds
- Refrigerator space to chill and set the gummies
Step by Step: From the Stove to Happy Tail Wags
1.Let the Broth Heat Up (Nice and Gentle!)
Start by pouring the chicken broth into a small saucepan and warming it over low heat. You’re aiming for hot and steamy, not boiling no bubbles needed.
Why keep the heat low? Gelatin can lose its setting power if it gets too hot. A gentle warm up ensures everything mixes smoothly when you add the remaining ingredients.
2.Incorporate the Cranberry Juice
Once the broth is warm, stir in the cranberry juice. If you’re using dried cranberries instead, add them directly to the warm broth and let them steep for a couple of minutes. They’ll soften, plump up, and infuse the liquid with their natural tart flavor.
And if you keep dried cranberries around for your own snacking (guilty!), be sure to check the label. Choose unsweetened ones without added oils or sweeteners.
3.Gradually Add Gelatin, Whisking Until Fully Dissolved
Now for the crucial step: gradually sprinkle the gelatin over the warm liquid while whisking continuously. Keep stirring until the gelatin is fully dissolved and the mixture is smooth and slightly thickened.
If you’re using parsley, fold it in at this stage. It adds a nutritional boost and a lovely speckled green contrast against the ruby red base.
4.Scoop and Pour Your Gummy Goodness into Molds
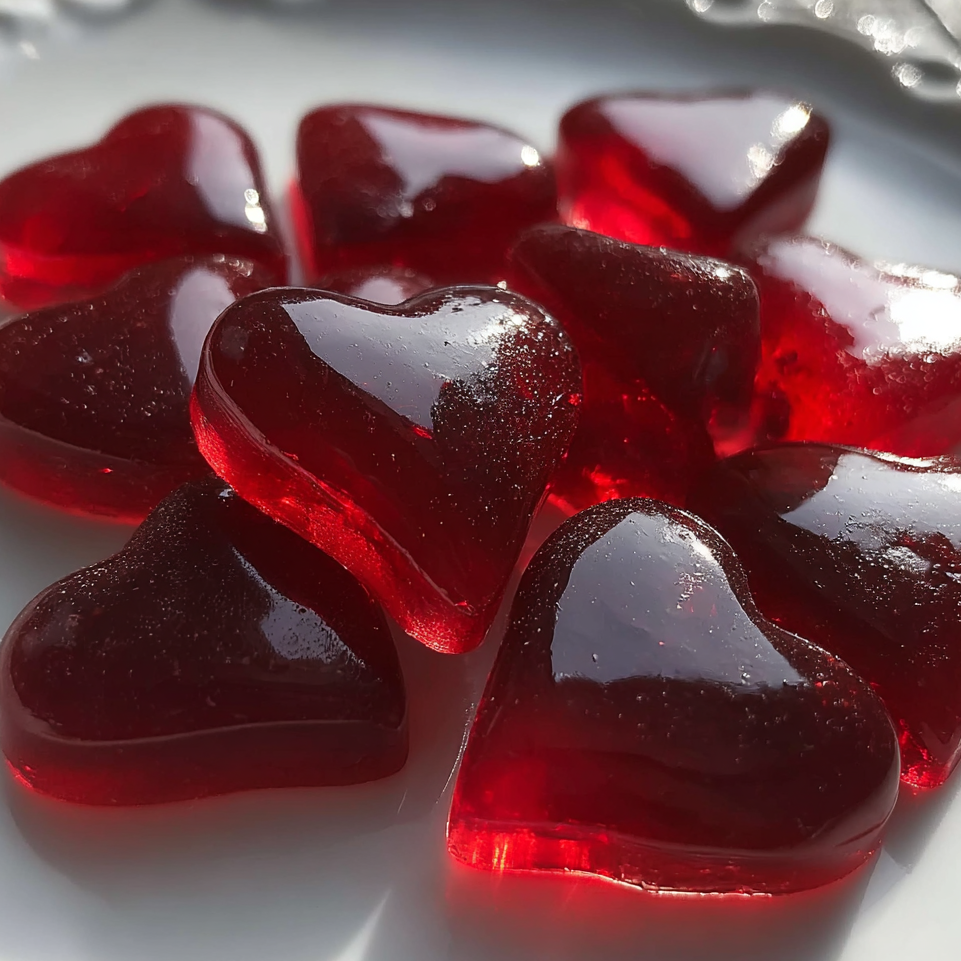
Using a dropper or spoon, carefully fill your silicone molds. I love heart shaped molds they make the gummies look adorable and are perfectly portioned but any mold will work just fine.
No molds? No problem! Pour the mixture into a small glass baking dish and cut it into squares once it has set.
5.Pop Them in the Fridge and Wait for the Magic
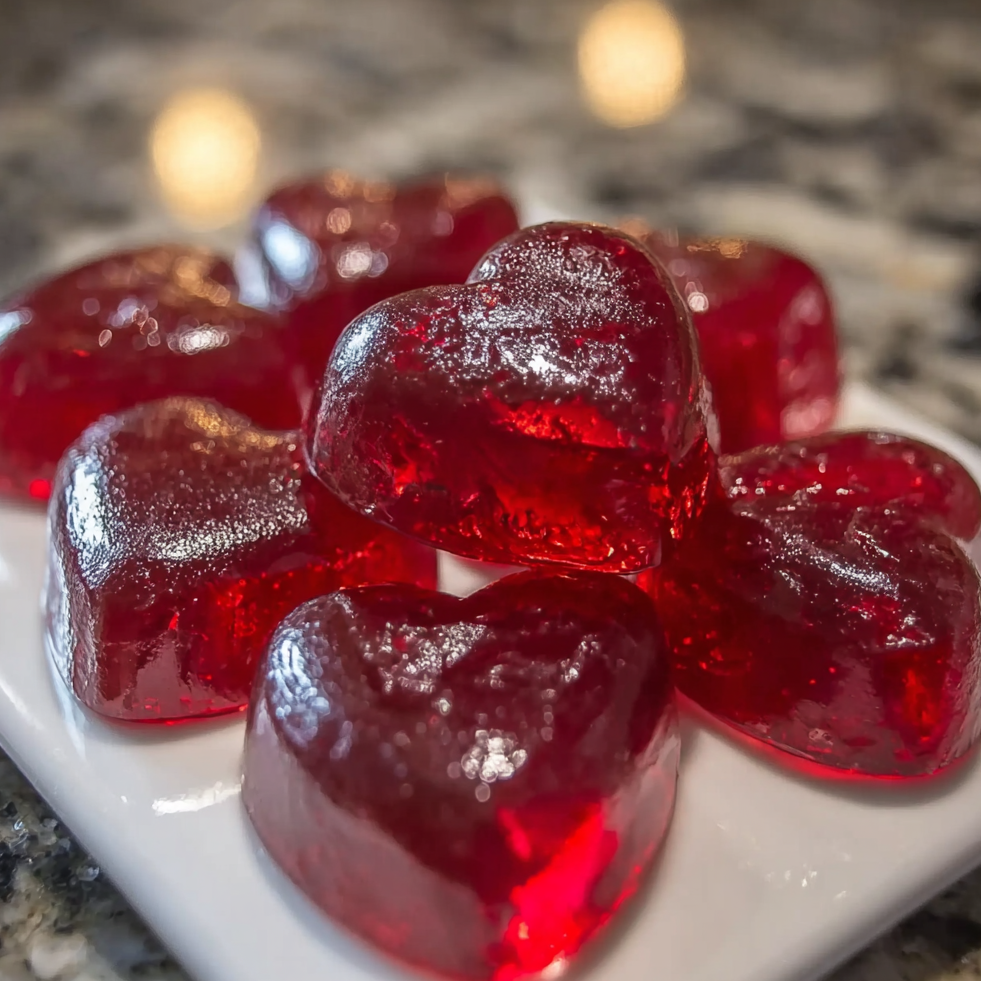
Place the filled molds in the refrigerator and let the gummies set for at least 2–3 hours or overnight if you want them perfectly firm. Once set, gently pop them out and store in an airtight container in the fridge for up to one week.
For longer storage, these gummies freeze wonderfully. Just separate the layers with parchment paper so they don’t stick together.
Flavor Variations and Pro Tips
One of the best things about this recipe is how versatile it is. If you want to get creative or cater to a picky pup, try these variations:
- Swap the chicken broth for beef or turkey broth for a new flavor twist.
- Add a pinch of turmeric for its anti inflammatory benefits and a fun golden color.
- Mix in a few spoonfuls of pumpkin puree for extra fiber, perfect for dogs who need digestive support.
If your pup loves pumpkin as much as mine does, check out my Pumpkin Pupsicles a frozen, healthy treat perfect for summer!
Feeding Tips and Portion Control
These are high value treats smelly, tasty, and irresistible so I usually save them for special occasions or training rewards. Think vet visits, long grooming sessions, or celebrating a perfectly executed “stay.” It makes them feel extra special, and it keeps the treats from becoming everyday snacks.
For my medium sized dog, I typically give one or two gummies per day, depending on her regular meals. If your dog is smaller or following a special diet, adjust the amount to suit their needs.
And of course, always supervise treat time especially if your pup tends to gulp rather than chew.
Why This Recipe Stole Our Hearts
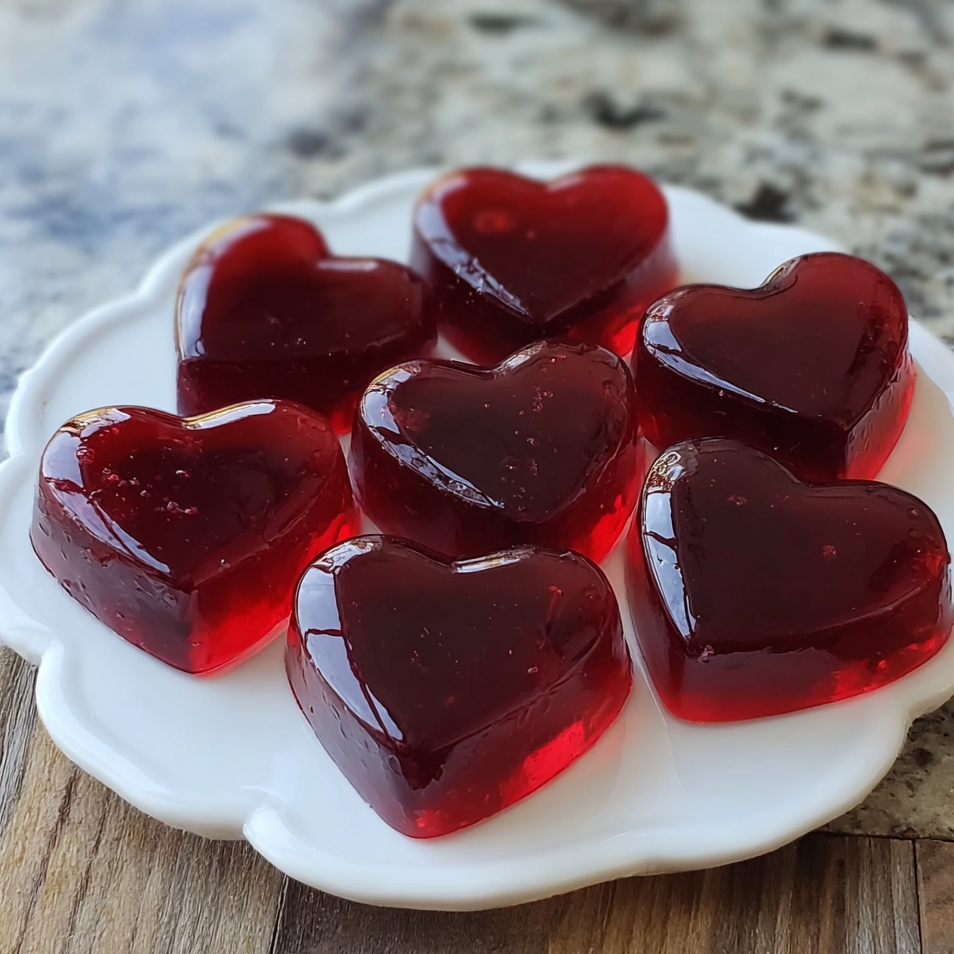
There’s something truly special about making a homemade treat for your furry best friend. It’s a small gesture of love they can actually taste. And honestly, there’s a bit of magic in pulling out a tray of glossy, heart shaped gummies that you crafted yourself.
My dog now knows the sound of the silicone mold container. I swear, she perks up the instant I open the fridge and reach for it. It’s moments like these a little treat, a wagging tail that make the time in the kitchen so rewarding.
Try More Wholesome Recipes Your Pup Will Ad
If your dog loved these gummies (and I suspect they will), there are plenty more homemade treats to explore:
- Blueberry Pumpkin & Oatmeal Chews – A soft, chewy delight with fruity sweetness and hearty oats.
- Homemade Peanut Butter for Dogs – A versatile staple you can use in dozens of other dog-friendly recipes.
You can also find inspiration for seasonal snacks, creative DIY pet projects, and adorable dog themed treats on Pinterest my go to for both ideas and a little swoon-worthy fun.
More Love in Every Bite
Customizing and serving these Cranberry Chicken Gummies with care makes each treat a tiny act of love. Whether it’s for training, a special reward, or just because, these little bites bring joy to both you and your pup one glossy, heart shaped gummy at a time.
Getting the Texture Just Right: Chewy, Firm, and Safe for Every Pup
When it comes to dog treats especially chewy ones like these cranberry chicken gummies texture is just as important as flavor. One of the great things about using gelatin is how easy it is to adjust. You can tweak the amount depending on whether your pup prefers a firmer chew or a softer bite.
For smaller dogs or seniors with sensitive teeth, try using a little less gelatin (around 1½ tablespoons instead of 2) for a gentler, more jelly like texture. For larger dogs or pups who love a hearty gnaw, you can increase it slightly (about 2½ tablespoons) to make the gummies firmer.
If your dog has dental issues, try molding the gummies into flatter, thinner shapes. This makes them easier to nibble without putting too much pressure on their jaws. After all, every pup deserves a treat that works for their needs.
Serving Ideas That Add Fun and Enrichment
These heart shaped gummies aren’t just delicious they can also be part of your dog’s enrichment routine. Here are a few creative ways we like to serve them:
- Frozen Surprise Toy: Place a gummy inside a treat dispensing toy or freeze it in a layer of water or low sodium broth in a Kong. It keeps your pup entertained while delivering a tasty reward at the center.
- Meal Topper: Dice a gummy and sprinkle it over your dog’s kibble to add flavor and excitement to mealtime.
- Training Jackpot Reward: Use a gummy as a high value reward when your dog masters a new trick or behavior.
Sometimes I like to hide a gummy in a muffin tin beneath tennis balls for a simple DIY puzzle. Watching my pup sniff and paw her way to the treat? Pure joy.
Safety First: Cranberries, Broth, and Gelatin in Moderation
While these ingredients are both tasty and nutritious, it’s always a good idea to check with your vet if your dog has any underlying health conditions. Cranberries, for example, are great for urinary health but can upset some dogs’ stomachs if given in large amounts.
Always use unsweetened, pure cranberry juice or dried cranberries without added sugar or sulfites. Make sure your chicken broth is free from onions, garlic, and added salt all of which can be harmful to dogs.
I often make my own broth at home in large batches using chicken bones, water, and sometimes a splash of apple cider vinegar. No seasonings just a clean, protein-rich liquid that I portion and freeze for recipes like this. It’s a simple way to know exactly what’s going into your dog’s treats.

Why Making Treats at Home Just Feels Right
Not too long ago, I relied on store bought dog treats, assuming that if it was on the shelf, it had to be safe. But after a few recalls and digging through ingredient lists full of words I couldn’t pronounce, I started researching dog nutrition on my own.
That curiosity led me to bake my first batch of homemade dog biscuits Banana and Honey Biscuits, to be exact. Watching my dog devour them with pure excitement was a lightbulb moment. Homemade treats aren’t just about snacks they’re about trust, health, and love.
Sure, it takes a little extra time, but the payoff is huge. You know exactly what’s in every bite, and you’re creating something with your own hands that your dog genuinely looks forward to. It’s a small act of devotion, one treat at a time.
A Thought on Ingredients: Quality Over Quantity
I always advocate using the best quality ingredients you can reasonably find and afford. For this gummy recipe, here’s how I source the main ingredients:
- Chicken broth: Homemade or a clean, organic store bought version with no added salt.
- Cranberries: Fresh or frozen are ideal, but 100% pure cranberry juice works perfectly when out of season.
- Gelatin: Grass fed, unflavored gelatin powder dissolves easily and supports joint health.
These details might seem small, but they make a big difference over time especially if you plan to use treats like these regularly.
How to Store and Preserve Your Gummie
These gummies are fridge staples in our home and stay fresh for up to one week in an airtight container. Glass jars with snap lids are my favorite they keep the treats fresh and make snack time feel extra special.
For larger batches, these gummies freeze beautifully. Spread them on a parchment-lined tray to freeze individually, then transfer to a zip top freezer bag. Pull out one or two at a time and thaw in the fridge or at room temperature. Frozen, they last up to three months perfect for meal prep days or trips.
Let’s Keep Cooking for the Dogs We Love
This cranberry chicken gummy recipe has a special place in my heart and my fridge. It embodies everything I love about homemade treats: thoughtful ingredients, simple prep, nutritional benefits, and plenty of tail wagging joy.
Every time my dog nudges the fridge or taps her paw next to the treat jar, I’m reminded of the small but meaningful bond we share over food. It’s a kind of love that doesn’t need words just patience, quality ingredients, and a willingness to get a little creative in the kitchen.
Join the Homemade Dog Treat Revolution
If you’re just starting your journey with homemade treats, keep going! There’s a whole world of simple, delicious, and nutritious recipes waiting to be discovered.
And don’t forget to check out their Pinterest page t’s packed with seasonal ideas, adorable photos, and creative spins on classic dog treats to keep you and your pup inspired all year long.
Happy treat-making and give your dog an extra gummy from me!

Healthy and Easy Cranberry Chicken Dog Gummies Recipe
There’s something magical about making a treat your pup can enjoy straight from your kitchen especially when it looks as cute as it is nutritious. These heart-shaped cranberry chicken gummies are a perfect example. Bright, ruby red, and full of flavor, they’ve quickly become a staple in our home. Beyond their adorable look and simple portioning, they blend two nutritious ingredients: tangy cranberries and rich chicken broth.
If you’ve ever had your dog nudge your leg in the kitchen or sit hopefully by the oven, you already know the joy of making something just for them. That feeling is exactly what inspired me to start creating homemade dog treats. And truthfully, these cranberry chicken gummies are one of the most rewarding recipes I’ve ever made.
Ingredients
- 1 cup unsalted, low sodium chicken broth (homemade or store bought)
- ½ cup pure, unsweetened cranberry juice (or finely chopped unsweetened dried cranberries)
- 2 tablespoons unflavored gelatin powder
- Optional: 1 teaspoon finely chopped parsley (for digestion and fresh breath)
Instructions
- 1.Let the Broth Heat Up (Nice and Gentle!) Start by pouring the chicken broth into a small saucepan and warming it over low heat. You’re aiming for hot and steamy, not boiling no bubbles needed.Why keep the heat low? Gelatin can lose its setting power if it gets too hot. A gentle warm up ensures everything mixes smoothly when you add the remaining ingredients.
- 2.Incorporate the Cranberry Juice :Once the broth is warm, stir in the cranberry juice. If you’re using dried cranberries instead, add them directly to the warm broth and let them steep for a couple of minutes. They’ll soften, plump up, and infuse the liquid with their natural tart flavor.And if you keep dried cranberries around for your own snacking (guilty!), be sure to check the label. Choose unsweetened ones without added oils or sweeteners.
- 3.Gradually Add Gelatin, Whisking Until Fully Dissolved : Now for the crucial step: gradually sprinkle the gelatin over the warm liquid while whisking continuously. Keep stirring until the gelatin is fully dissolved and the mixture is smooth and slightly thickened.If you’re using parsley, fold it in at this stage. It adds a nutritional boost and a lovely speckled green contrast against the ruby red base.
- 4.Scoop and Pour Your Gummy Goodness into Molds : Using a dropper or spoon, carefully fill your silicone molds. I love heart shaped molds they make the gummies look adorable and are perfectly portioned but any mold will work just fine.No molds? No problem! Pour the mixture into a small glass baking dish and cut it into squares once it has set.
- 5.Pop Them in the Fridge and Wait for the Magic : Place the filled molds in the refrigerator and let the gummies set for at least 2–3 hours or overnight if you want them perfectly firm. Once set, gently pop them out and store in an airtight container in the fridge for up to one week. For longer storage, these gummies freeze wonderfully. Just separate the layers with parchment paper so they don’t stick together.